
HOW TO
Watch as our experts give you best practice advice and invaluable tips as they walk you through both common and complex jobs.
From servicing to inspections and repairs, you’ll find the guidance you need in our library of videos below.


Resource Highlights
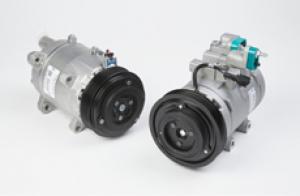
In this article you will find out about the 10 steps to follow when installing a compressor.
1. | PreperationClean A/C SystemEnsure the A/C system is clean – closed loop refrigerant flushing is recommended. If chemical flushing is used, all chemical flushing agents must be removed from the system.
|
2. | LubricateOil Balance SystemOil balance system – use the correct type and amount of refrigerant lubricant. |
3. | ServiceSuction ScreenService suction screen installation – prevents system debris from damaging new compressor. |
4. | CheckEvacuation & ChargingAccurate evacuation and charging – new systems have charge weights of +/- one ounce. |
5. | CheckLeak CheckLeak check entire air conditioning system – replacing compressor may not correct the system leak that caused previous compressor failure. |
6. | CheckCycle SwitchCheck cycle switch performance – improper operating switch, not shut off as specified, will cause repeat failure. .jpg?sfvrsn=e167bcc9_1) |
7. | FitFitting CompressorConfirm OEM manufacturer air conditioning system performance – the compressor is not the only contributor to air conditioning performance.
|
8. | InstallInstallationTurn the compressor shaft at least 4 times, prior to installation on the vehicle – if unable to rotate by hand, a turning tool or spanner wrench must be used. Do not use a socket directly on the shaft nut or bolt. |
9. | ReplaceReplace ComponentsReplace non-flushable components – parallel flow condensers and hose assemblies with mufflers after a catastrophic compressor failure. |
10. | CheckCheck VoltageCheck voltage to coil – especially if previous compressor experienced clutch failure. |

Find out where to buy Delphi parts

Find your nearest Service & Diesel Centres
SIGN UP
TO FIND OUT MORE
Fill out your details to hear more from our experts and get the latest updates from Delphi.