Resource Highlights
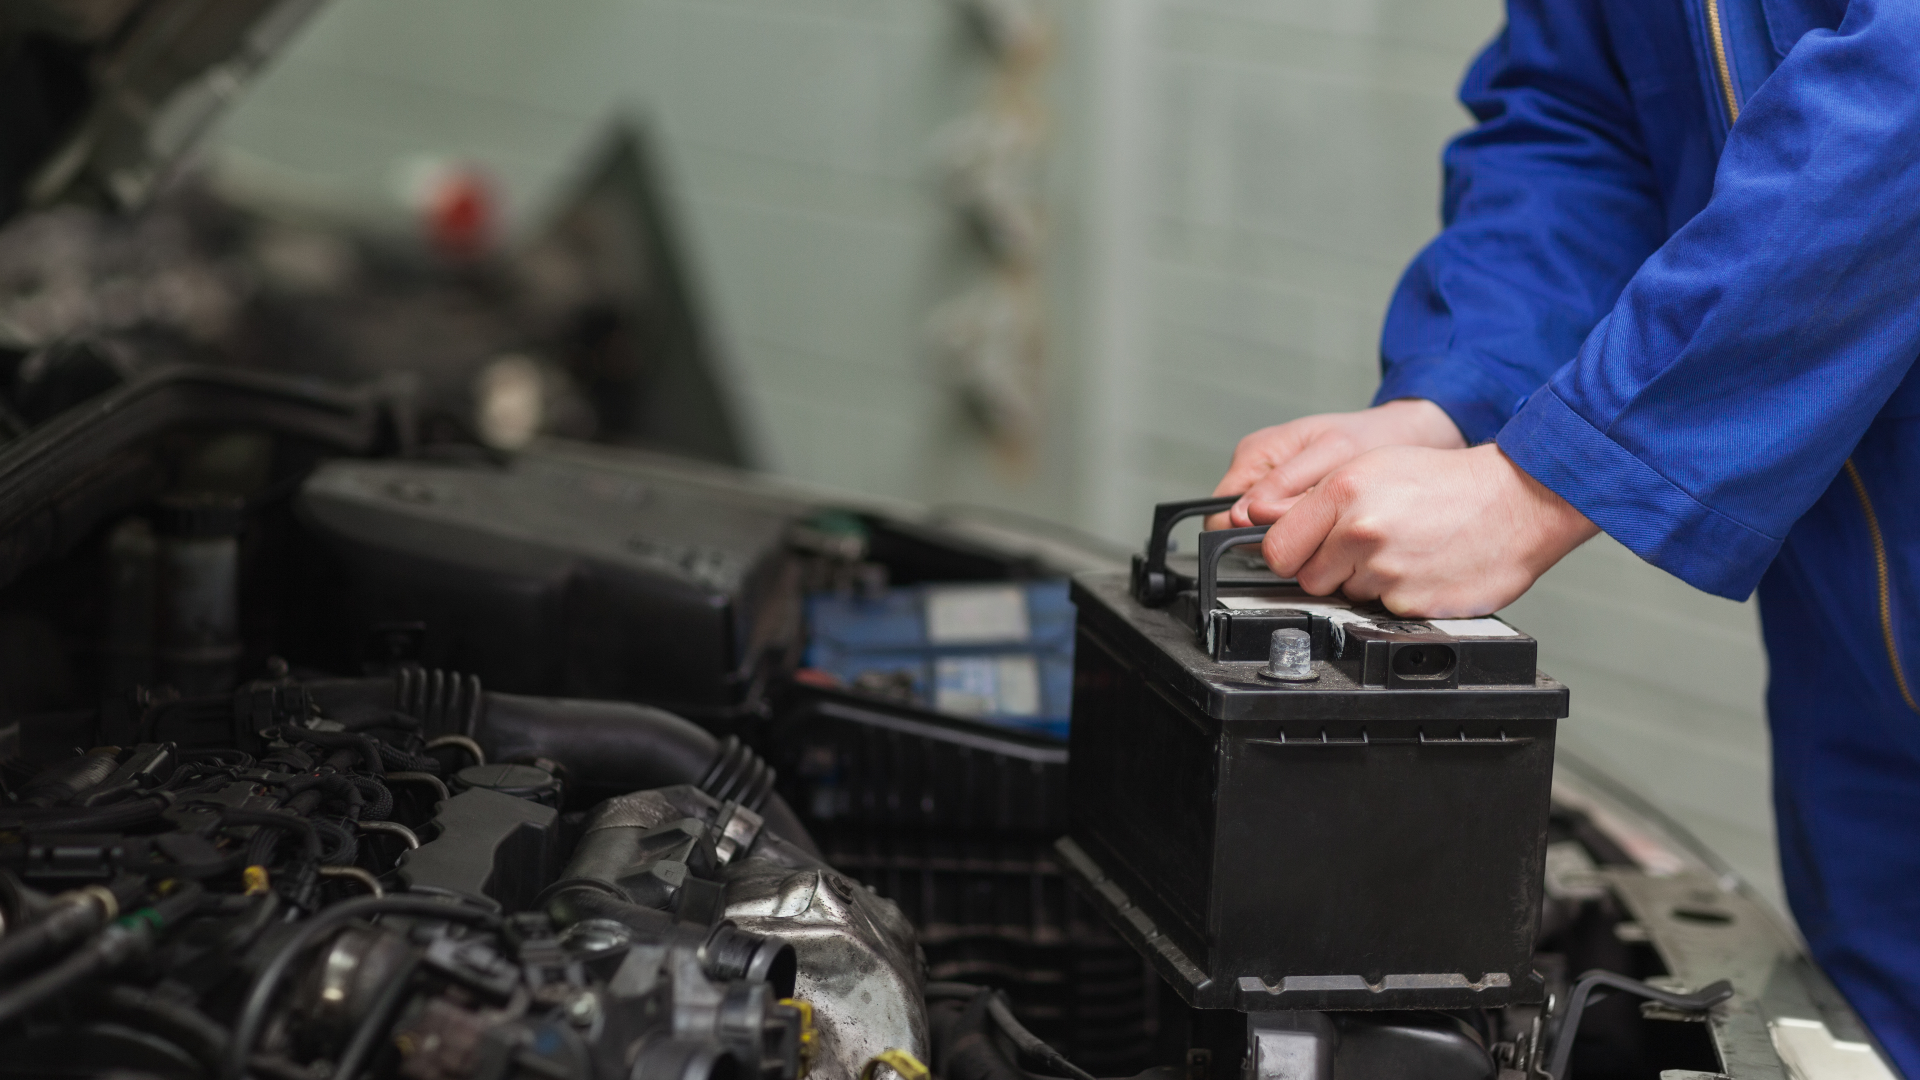
In this article you will find out about how to diagnose typical CRI faults on a Ford Mondeo 2.0 TDCi.
Here are some possible symptoms and typical fault codes for a Common Rail Injector (CRI) on a Ford Mondeo 2.0 TDCi.
- Could be causing the engine to run erratically, resulting in low power and poor emissions.
- F2336 Injector 1 fault / F2337 Injector 2 fault / F2338 Injector 3 fault / F2339 Injector 4 fault
The fault can be accompanied with a descriptor “Accelerometer out of range.” This typically means that the tolerance window of 80 micro seconds has been exceeded and therefore the system cannot modify the drive to the injector to maintain stability.
If the fault code is accompanied by a rail pressure fault code, then it is likely that the whole system has been contaminated.
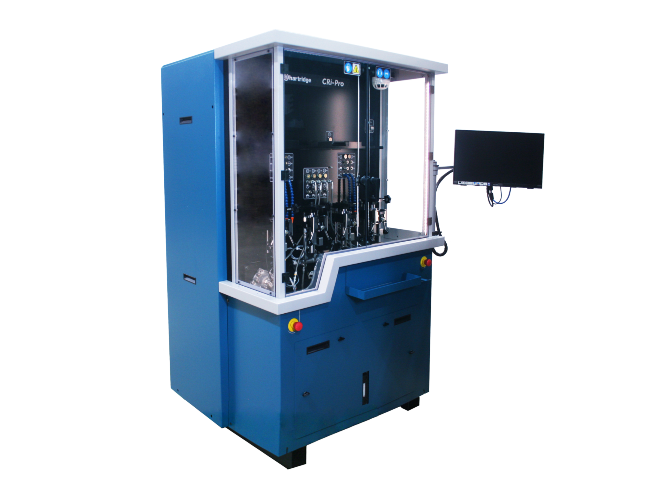
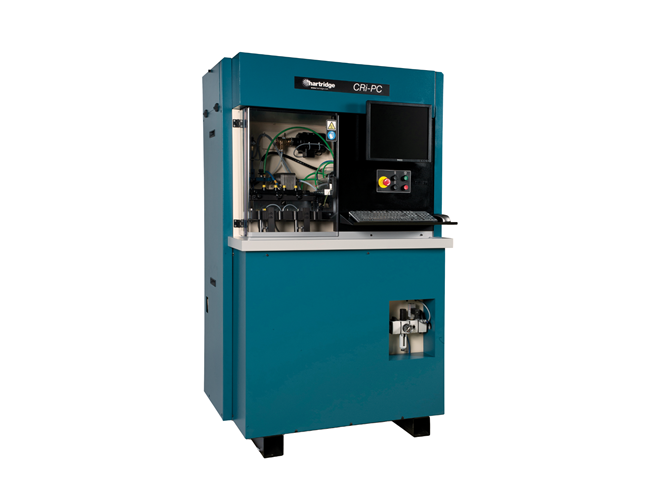
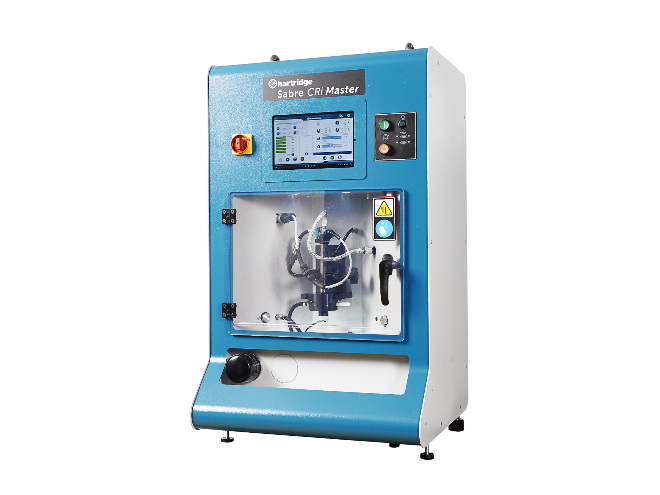
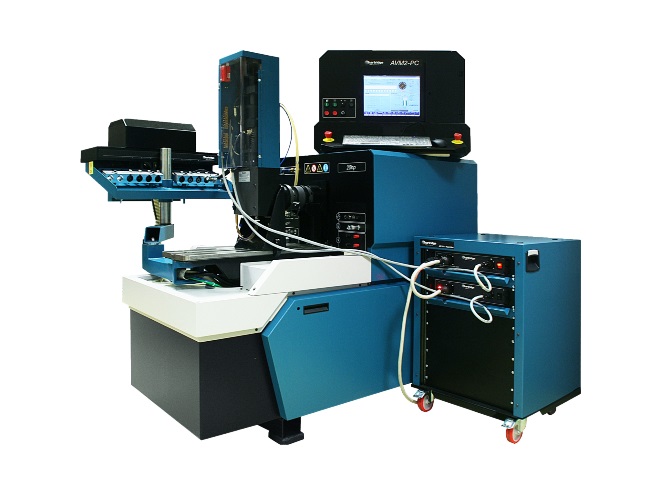
In all cases, a hydraulic diagnostic check, using the Delphi Sealed Rail Kit, should confirm which parts are at fault.
Diagnosing the situation
The fault codes should first be confirmed, and if the code is one or all of the above, the following procedure is recommended.
Step 1: Remove the fuel filter and empty the contents into a clean container.
If the content is not clear, or full of particulates, or has high water content, then the system must be cleaned out from the tank to the filter.
If the sample is clear and the amount of particulates in the sample covers less than one square centimeter, then proceed to the hydraulic test. More than one square centimeter suggests heavy contamination, and if the particles are of a metallic nature, a full system overhaul will be required.
At this stage, it is also advised to check for damage to the other mechanical components in the system using a hydraulic or “wet side” diagnostic on the pump, injectors and rail. A bio check can be performed using Delphi’s fuel analyzer to confirm if the sample is suitable for further use.
Note: Ferrous metallic particles can be identified by using a magnet under the base of the container.
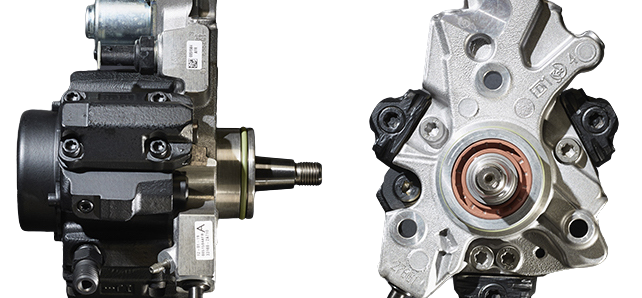
Step 2: Hydraulically test the pump and injectors for max pressure and back leakage using the Delphi Sealed Rail Diagnostic Kit.
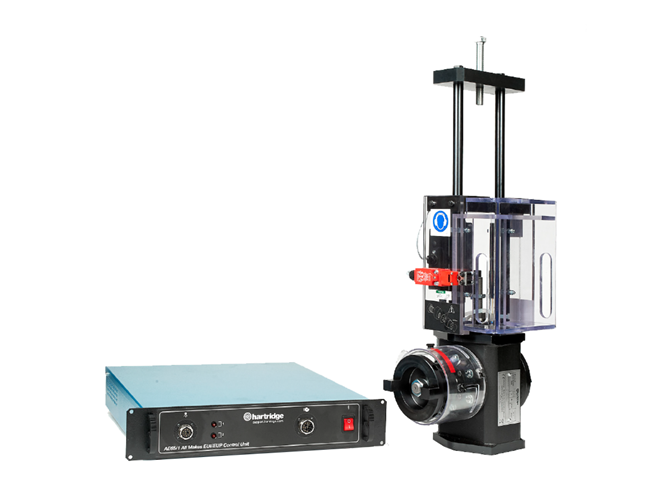
If the pump pressure is lower than the recommended specification stated in the kit instructions, this indicates that the pump is worn and requires attention. Further testing with the False Actuator Kit will determine whether the damage is internal or to the external IMV.
Note: Any contamination in the high pressure pump will also be in the rail and injectors and will result in a system replacement.
If the pressure can be recovered by a new IMV then proceed to the next step. The injector back leakage is critical and must be within the parameters outlined in the test kit manual.
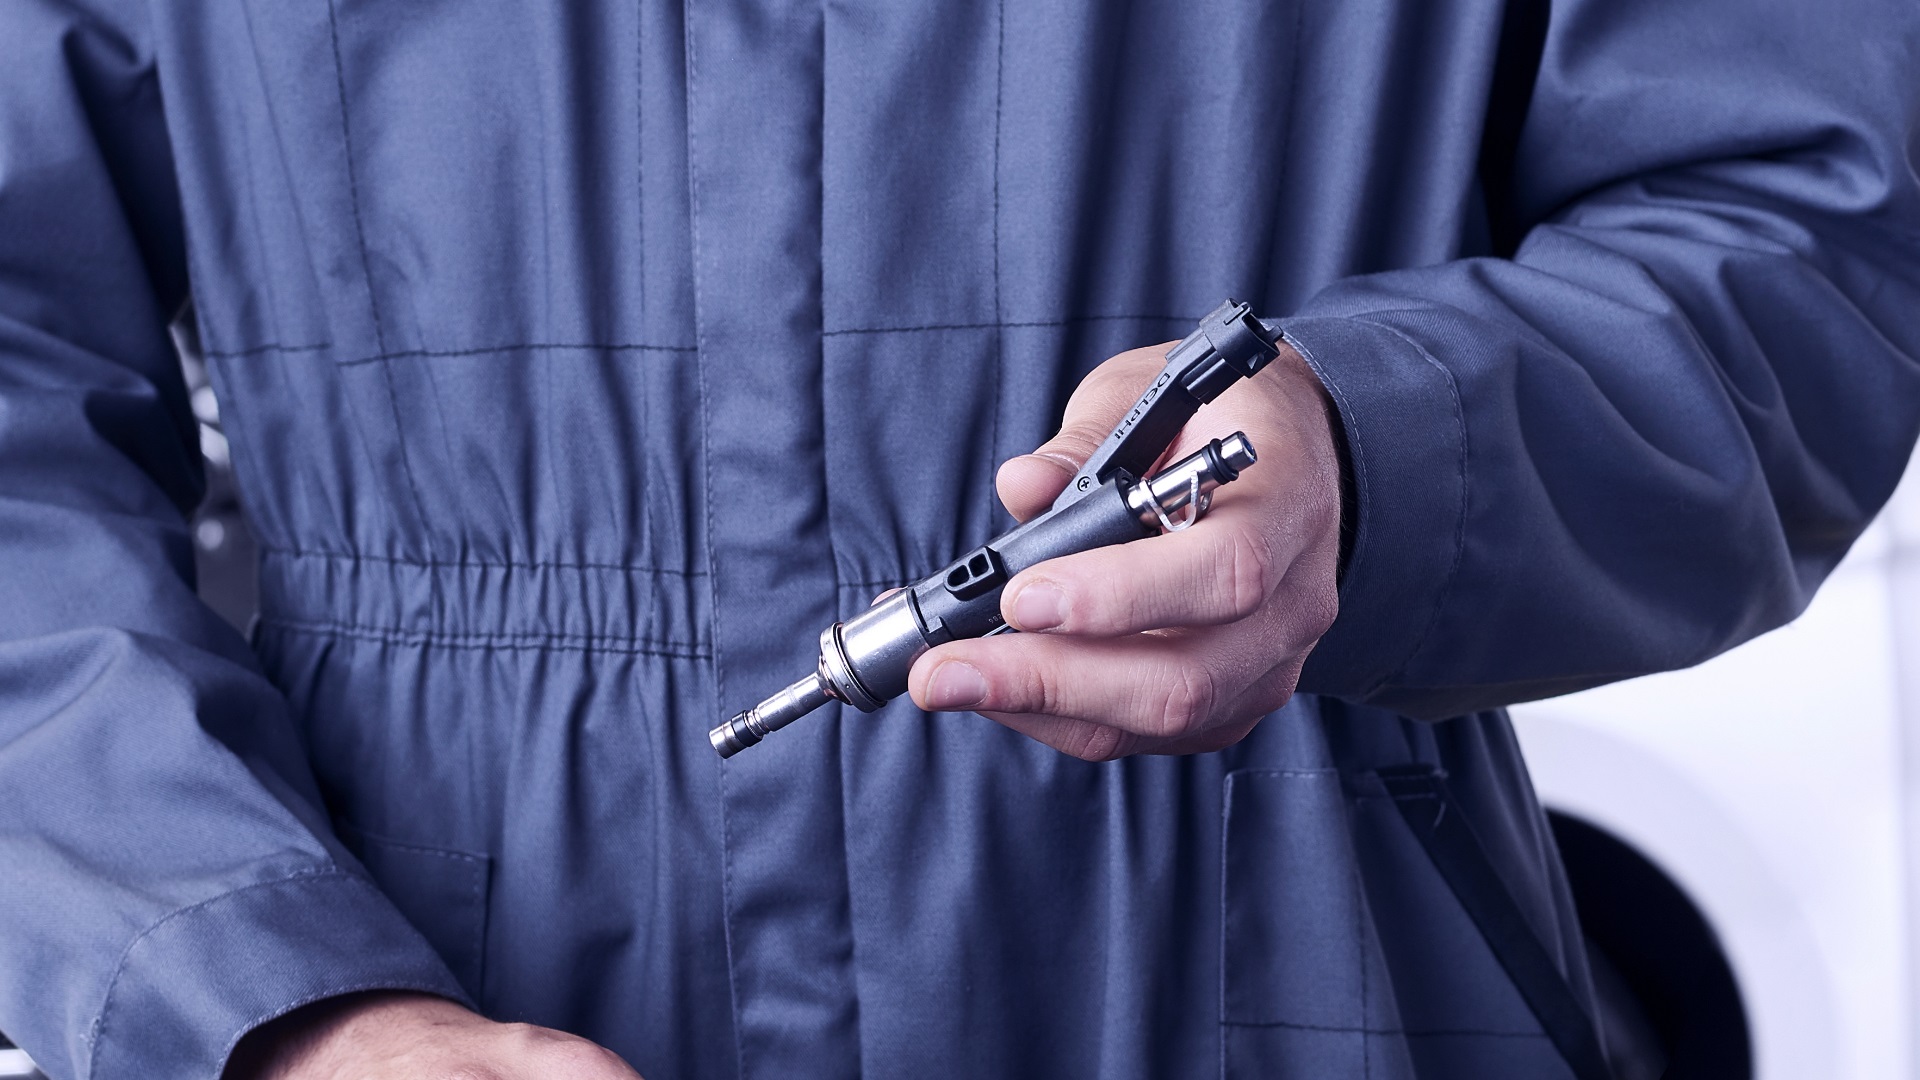
If the back leakage is not uniform between the cylinders then the highest back leak injectors should be serviced in accordance with Delphi service standards, or replaced with new injectors.
Note: The high back leak injectors should align with the fault codes present for the relevant injector number. If all of the injectors have high back leakage this is probably due to fuel contamination and will indicate further intervention is required and that all of the injectors require service.
Note: If contamination is present in the system, changing injectors alone will run a high risk of repeat failure, thus increasing the cost of repair to the customer.
Step 3: Replace the fuel filter.
When replacing the filter ensure a genuine Delphi or Ford part is used. The filter screen is 2 microns which is necessary for system protection. Non-genuine filters may have a larger filter screen, typically 5 to 10 microns – this is inadequate for this application.
Step 4: Ensure the correct torque setting.
Ensure all pipes are tightened to the correct torque setting to prevent distortion of the pipe and/or injector and that the injector mountings are also torqued in accordance with the specification.
Step 5: Reprogram the ECU.
Every Delphi Common Rail injector, be it new or repaired, should have a label with a characterization code applied to it. It is essential that the ECU is re-programmed with this code when the injector is fitted to the vehicle. This will ensure that the adjustment to the pulse times is made and that the correct fuel delivery is maintained.
Step 6: Finally, clear all fault codes, road test the vehicle and recheck for codes after the road test.
Related article resources and products


Contact Us
Visit our Contact hub to find a range of enquiry types suited to help you find the exact support you are looking for.