Resource Highlights
In this article we give you a break down on how to replace an outer tie road end through a step-by-step guide.
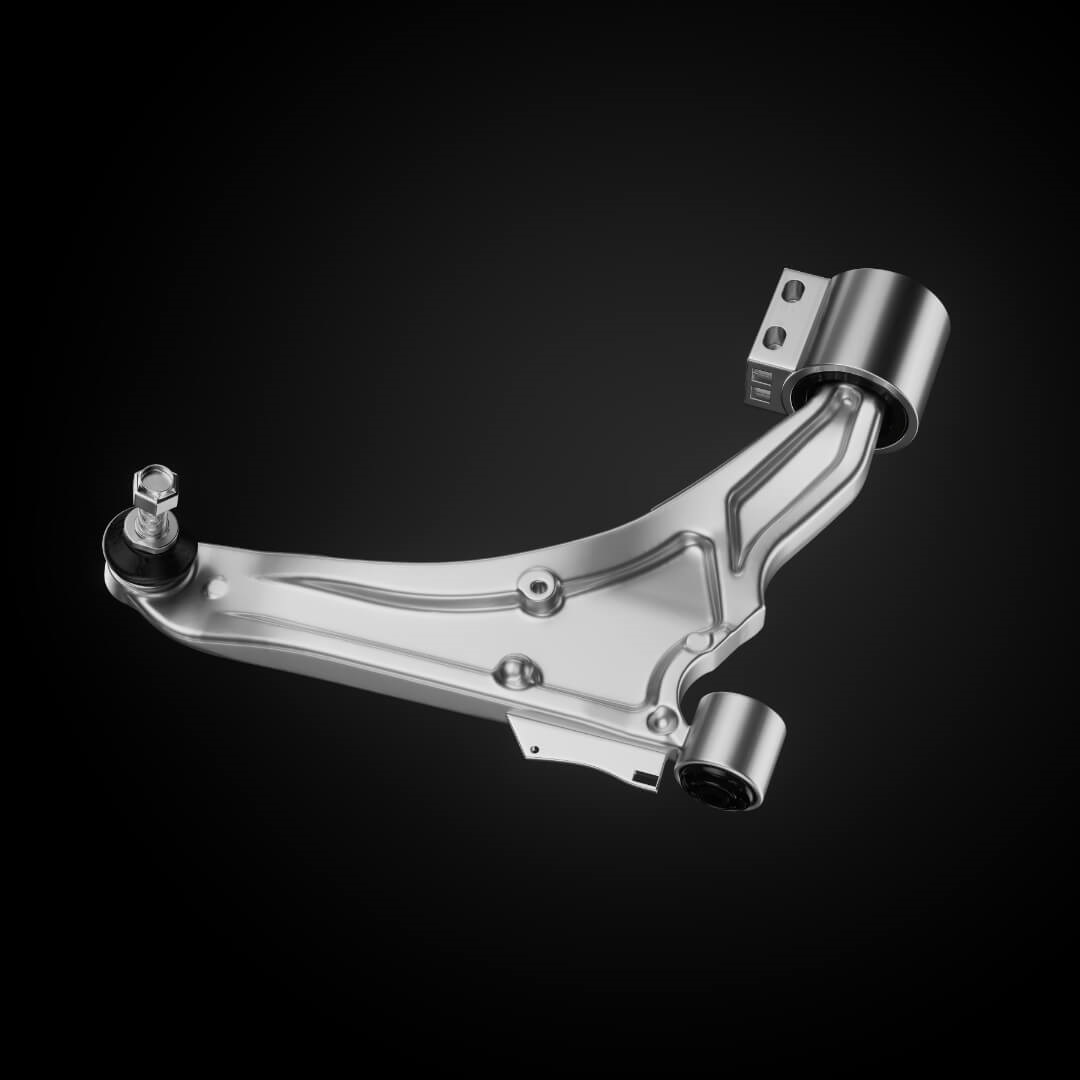
How to know when to replace outer tie rods
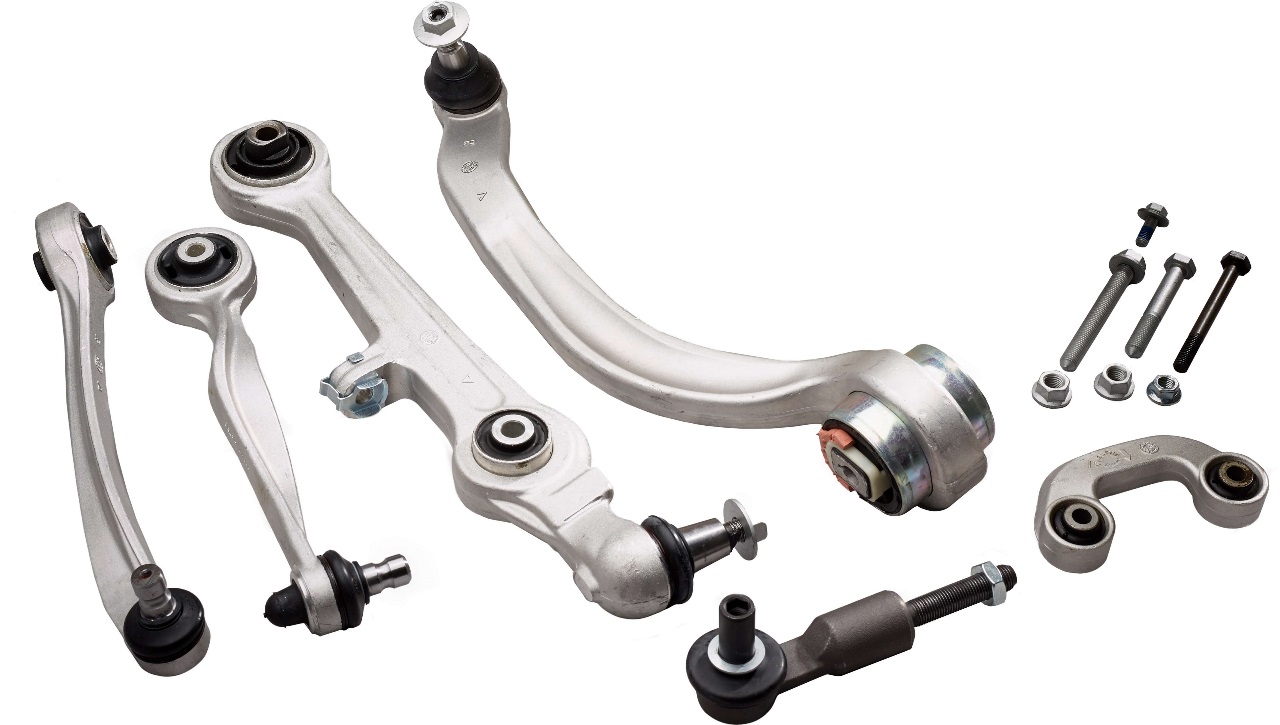
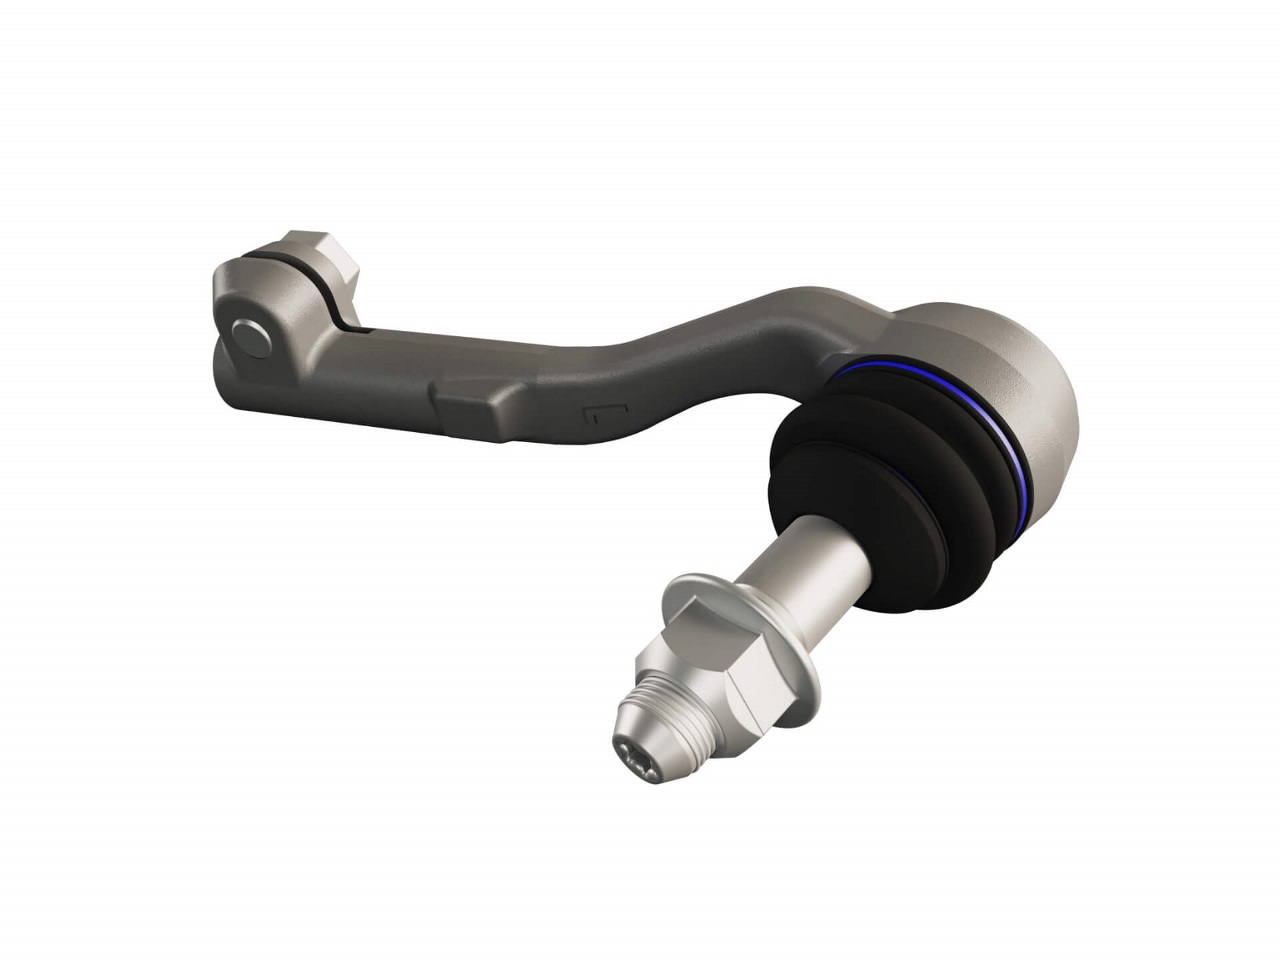
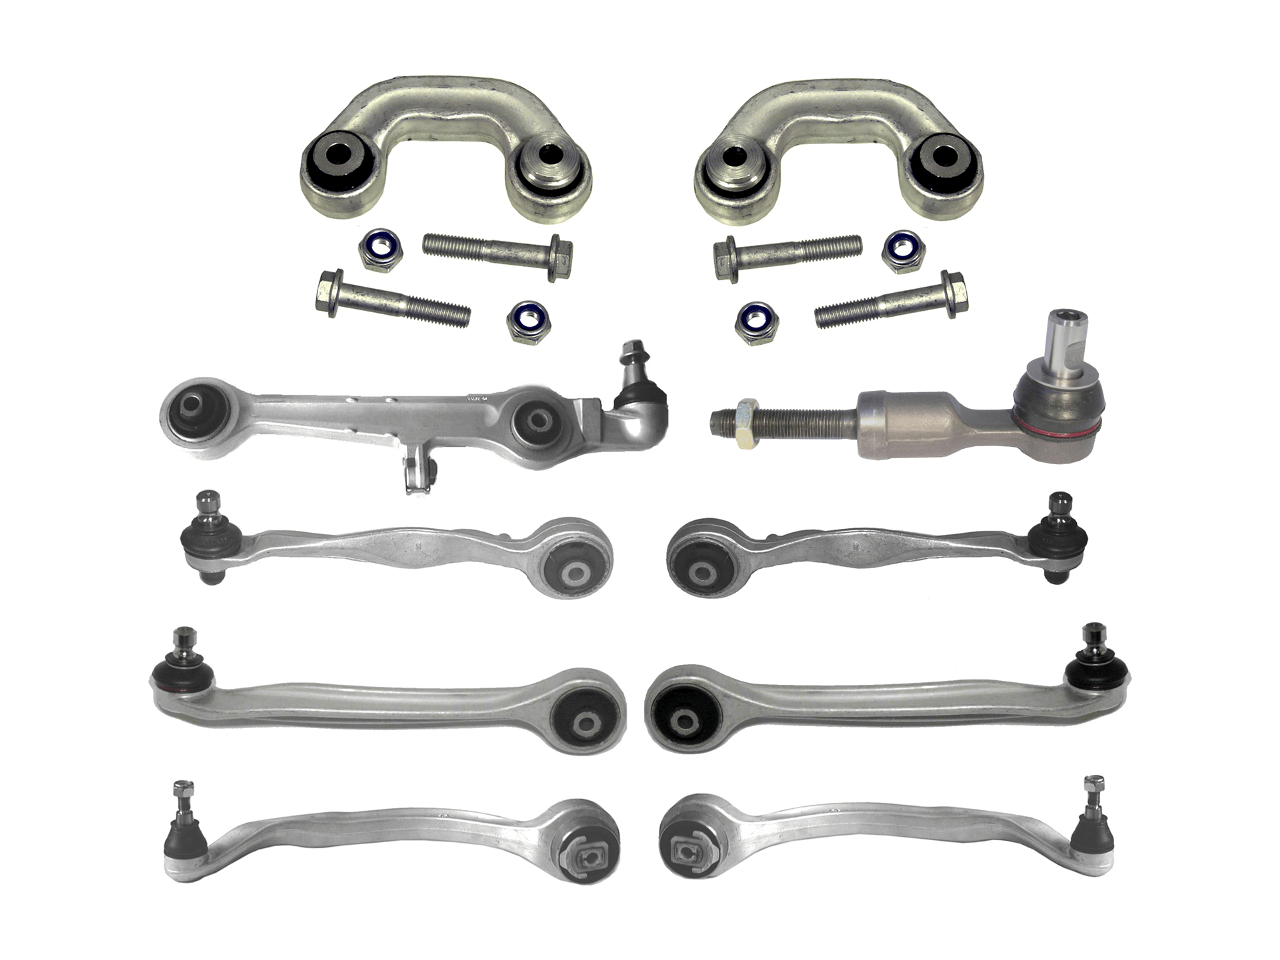
Tie rod ends connect the steering knuckle of the wheel to the steering rack, and largely responsible for turning the wheels. When you turn the steering wheel, the steering system reacts through the rack and pinion, ultimately telling the outer tie rod ends to push or to pull the wheel to turn. A failed tie rod could lead to loss of control or the wheel breaking completely free of the vehicle, both extremely dangerous situations that can be avoided by proactive maintenance. Symptoms of worn outer tie rods include:
- Loose vehicle steering, or play in the steering wheel
- Uneven tire wear
- Vehicle pulling
- Noises like clicks/rattling/chuckling
A lot of steering and suspension problems can share the same symptoms and noises, so it is always best to do a visual inspection of the part itself. A visual inspection of the tie rod will show if there is wear and tear to the boot cover, that will reduce performance or make the part fail completely.
Test the outer tie rod for excess wear
If your vehicle experiences the above symptoms, there is a test that will pinpoint if the issue is with the outer tie rod. First, raise the vehicle just enough so that the wheel is not touching the ground. Second, place your hands at nine and three on the wheel, and move the wheel left and right. If the parts are in good shape, the wheel would just simply turn. If there is excess wear, the wheel will shake as if the lug nuts were loose. This is the most common sign to replace the tie rod.
How to replace an outer tie rod end:
Safety first
- Make sure to be thorough and careful during steering and suspension repairs.
- Wear safety glasses and gloves.
- Use approved jack stand and make sure to support steering components against their spring pressure.
- If you need to use heat to loosen a stubborn nut, an electrically inductive heating kit is recommended as the safest method.
- If you use a torch, make sure to have a fire extinguisher on hand and avoid catching rubber bushings on fire.
Basic tools you will need
- Penetrant
- Impact wrench
- Torque wrench
- Combination wrenches
- Tie rod end puller
- Oil
- Channel locks
- Pliers
- Stiff tape measure
Before you start
- Mark where the jam nut is positioned on the inner tie rod, either by marking the part, taking a picture, or counting the number of turns or threads.
- Measure the ride height before the service.
- Removing the wheel is recommended for better access.
- Before installing a part, make sure old and new parts match dimensions.
Remove the lock nut
After soaking the inner tie rod jam nut and thread with penetrant, hold the inner tie rod steady with a wrench and bust the jam nut loose. To avoid damage or warping, do not use a hammer. Moving to the other end, remove the lock nut. Some outer tie rods use a castle nut with a cotter pin, unlike the information contained in this video. If this is the case for your vehicle, straighten the pin with needle nose pliers and pull the pin out of the castle nut, then remove the nut completely.
Completely remove from the steering knuckle
Using a specialized tool for removing tie rod ends and ball joints, lift the outer tie rod from the steering knuckle. Once the end is free, count the number of turns, or mark the position before turning, when removing the old tie rod end from the inner tie rod. When the outer tie rod is completely removed from the car or truck, compare the length, taper and thread length of the new and old parts to ensure the replacement part is compatible with the steering system.
Installing the new outer tie rod
Connect the new tie rod end to the inner tie rod, counting the turns or stopping at the mark you recorded earlier. Place the free end of the outer tie rod into the steering knuckle, making sure the taper goes in all the way. Using your fingers or light wrench work, tighten the new lock nut until the whole stud starts to spin. Do not use an impact wrench as it will cause unnecessary spinning that could ruin the new part. Use a ratchet to keep the stud from moving as you tighten the new lock nut to the vehicle manufacturer’s recommended torque. For a castle nut, once it is completely tightened, be sure to install the cotter pin by pulling the pin through and bending it with needle nose pliers to wrap it securely around the nut.
Some outer tie rods come with a grease fitting, which often come pre-greased and do not require any additional grease added when installed. However, make sure the grease fitting bolt is tightened during installation. For maintenance purposes, it’s always a good idea when getting an oil change to add new grease and push old grease out.
Get an alignment immediately
Once the new part is installed, do one last check of the other suspension parts before putting the wheel back on. Torque the wheel on the ground and go on a short road test, then immediately take the vehicle in for an alignment. Anytime there is a front end alignment done on a vehicle, make sure to reset the steering angle sensor.
For more information on resetting the steering angle sensors, check out our Resource Center guide.
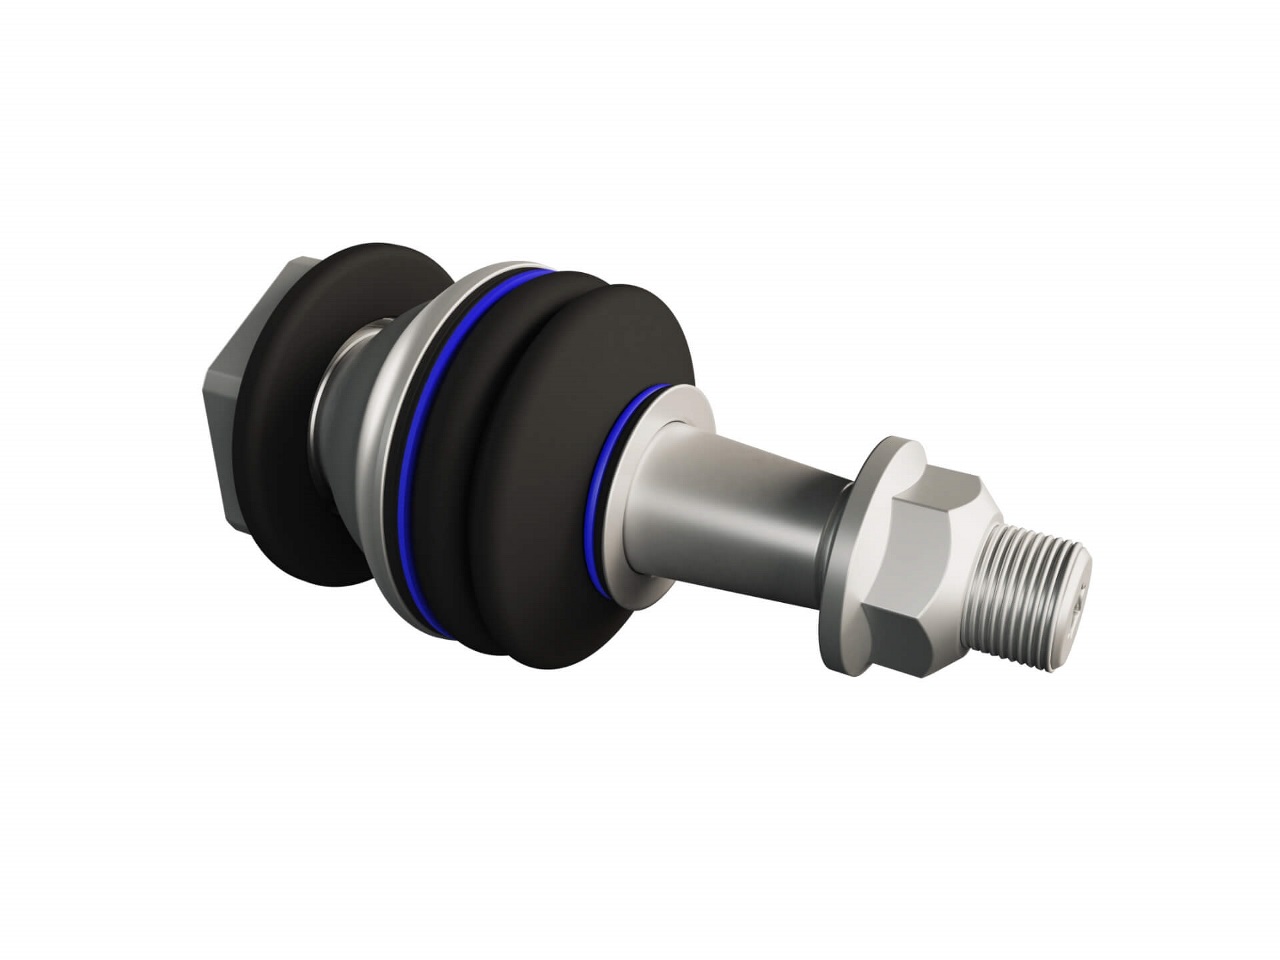
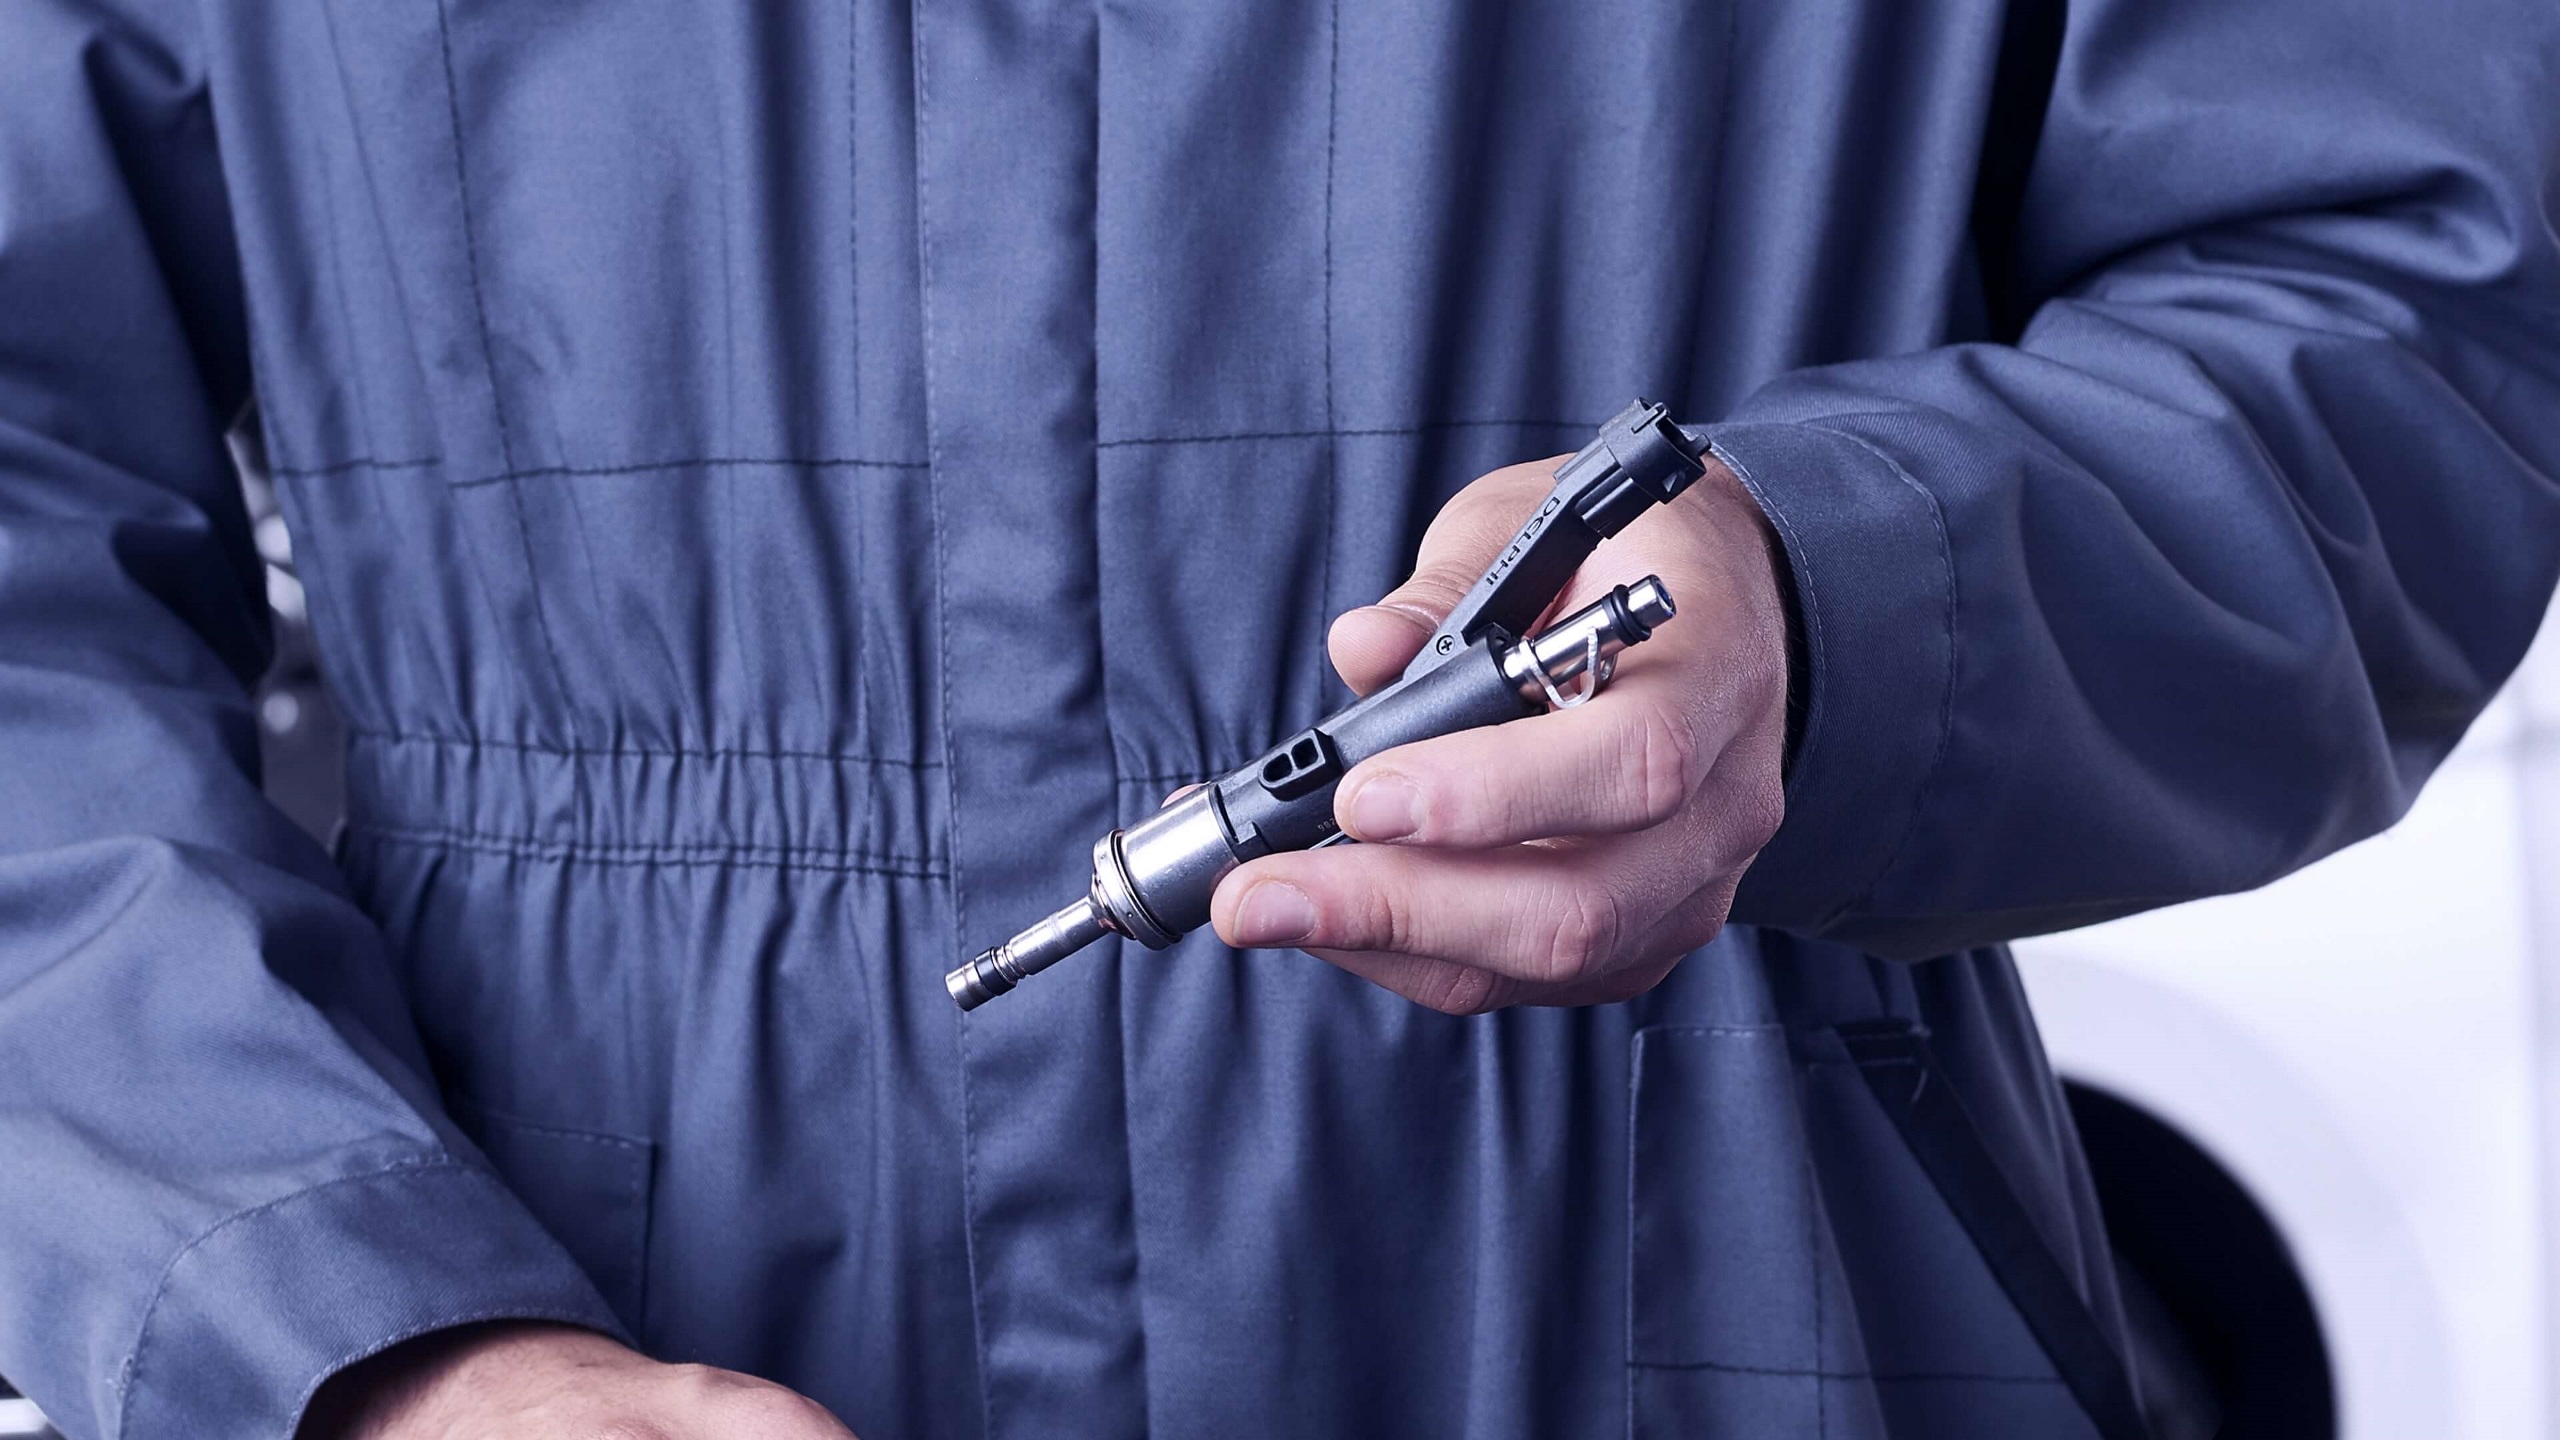
When deciding what outer tie rod is best for your vehicle, consider Delphi outer tie rod as your OE standard auto parts replacement. Delphi tie rod ends are fatigued tested to avoid failure and have cataphoretic coating for superior rust protection. We even tested our parts in the most extreme conditions, ensuring performance when the driver faces challenges due to factors beyond their control. Check out our catalog today to see if we have a Delphi outer tie rod for your vehicle.
Related article resources and products
Contact Us
Visit our Contact hub to find a range of enquiry types suited to help you find the exact support you are looking for.