Resource Highlights
In this article you will know more about some simple inspections and tests that can help streamline the repair of a fuel sending unit.
A fuel gauge that reads full or empty all the time, or has a needle that moves erratically, could be the result of a faulty sender unit or fuel gauge itself. But before jumping to conclusions and trying to fix something that may not be broken, there are some simple inspections and tests that can help streamline the repair.
Tools you will need on hand are:
- Owner manual
- Service manual
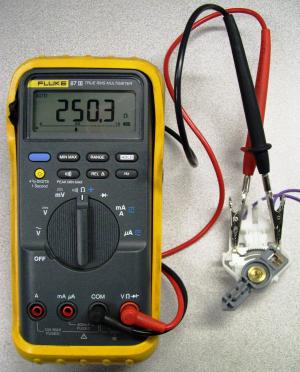
- Multimeter
- Basic hand tools
- OBD-II scanner (if applicable)
Scan for OBD-II trouble codes (if the check engine light is on)
If the check engine light is illuminated on the dashboard, this means a fault is detected with one of the vehicle’s monitored systems. To find the fault, use a OBD-II scanner or code reader to read the codes through the vehicle’s OBD port. If the fuel level sensor circuit is having issues, the most common OBD-II codes related to the fuel sending unit are:
- P0460 Fuel Level Sensor Circuit Malfunction
- P0461 Fuel Level Sensor Circuit Range/Performance
- P0462 Fuel Level Sensor Circuit Low Input
- P0463 Fuel Level Sensor Circuit High Input
- P0464 Fuel Level Sensor Circuit Intermittent
All codes can be related to electrical faults, so be sure to check all connections and grounds in the circuit. Sometimes when fueling a vehicle with the ignition on or engine running, the rapid change in fuel level can cause the system to throw a trouble code.
Check the fuel gauge fuses
If other gauges besides the fuel gauge are acting up, it may be a fuse related problem. Using your owner manual again, check where the fuses are located for the fuel gauge and pull the fuse to check it’s condition. If the fuse is blown, replace the fuel and verify if this fixes the fuel gauge.
How to test a fuel gauge
Many modern cars and trucks are equipped with electronic fuel gauges that have a built-in self-test procedure. The procedure will be in the owner’s manual or may be available online. Following a series of steps, you can initiate the self-test which tests all the instrument panel lights and displays, as well as runs the gauges through their ranges. If the fuel gauge does not complete a run from full to empty, this is an indicator that the issue is with the gauge itself and not the fuel sending unit.
How to test a fuel gauge with a multimeter
A poor connection with the signal wire from the fuel sending unit or a poor grounding wire can cause inaccurate readings. Using the vehicle’s repair manual, follow the instructions to remove the instrument cluster/fuel gauge from the dashboard. If the wire looks intact, check the voltage of the fuel gauge wire with a multimeter set to 20V DC. The fuel gauge should be receiving 12 volts. If not, check all wires for any signs of damage, as a corroded wire or loose connection could be the issue.
How to test sending unit wiring connections
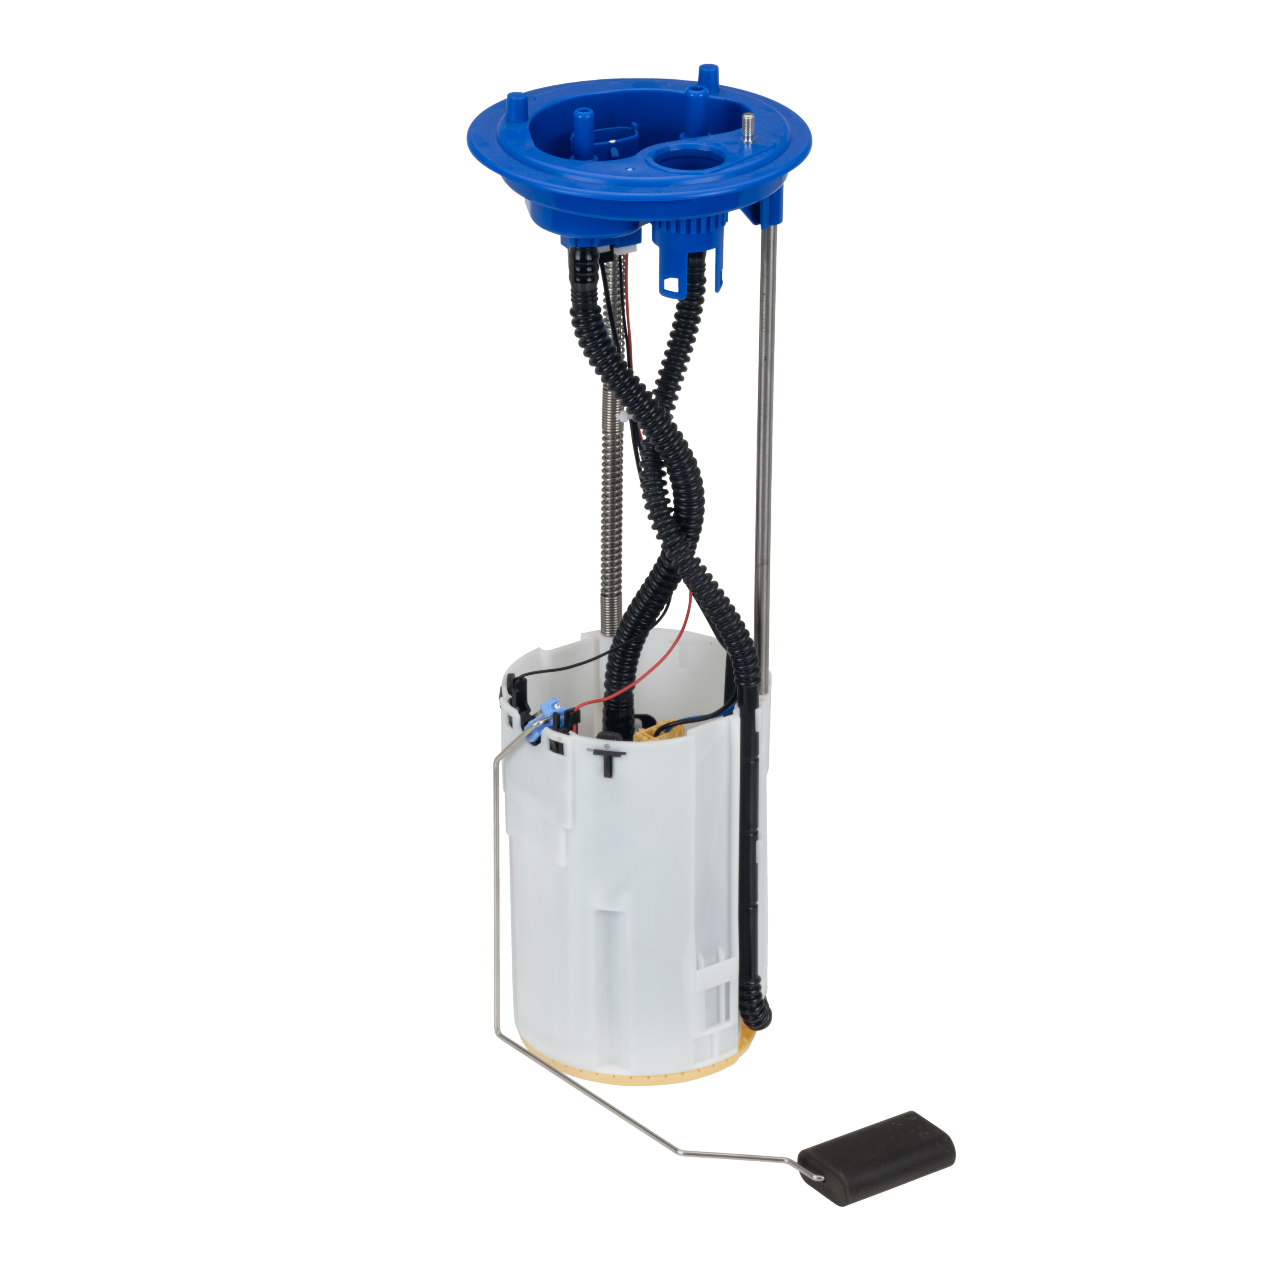
Moving to the fuel tank, inspect the top of the fuel sending unit for any damage and/or corrosion, and that it is seated correctly in the tank. If the top of the unit is dirty, take the time to clean the connectors to help conductivity. Make sure there is a good ground connection as well. To verify the fuel sending unit is receiving proper voltage, set the multimeter to 20 volts. With the battery turned on, back-probe the input connector on the sending unit and check for voltage. Refer to the Service Manual for proper voltage. If the input voltage is lower than volts called for, inspect the wiring from the sending unit to the battery as it could be faulty.
Checking the output voltage, measure how much voltage is being sent from the fuel sending unit to the fuel gauge. The voltage should measure the same on both ends of the wire. If the voltage is different, there is corrosion or poor wiring between the sending unit and the gas gauge.
How to check fuel sending unit ohms
If all other steps have checked out so far, the last step is to check the fuel sending unit itself. The easiest way to do that is to pull the unit completely out of the fuel tank so that you can manipulate the float arm while measuring resistance.
Depending on the fuel tank design, you may have to remove the fuel from the tank or in some cases, the tank will need to be dropped. Before removing the fuel sending unit, make sure the area around the fuel sending unit is clean, dry, and free of corrosion so that no debris falls in the fuel tank. Follow the vehicle’s repair manual for the proper steps to remove the fuel sending unit.
With the fuel sending unit outside of the tank, we can check the resistance performance using a multimeter set to the Ohms setting. You will need to check the service manual for the resistance or Ohms values for the specific fuel tank sending unit you are testing. One of the pins will be voltage feedback to the fuel gauge on top of the unit, so connect the multimeter to that pin. While connected, swing the float arm and the Ohms should increase or decrease depending on the direction of movement.
- If the Ohms are correct but the fuel gauge is not reflecting the correct fuel level, then you likely have a wiring issue between the fuel sending unit and the fuel gauge.
- If the Ohms do not move or match the manufacturer’s specifications, then the fuel sending unit is likely faulty and will need to be replaced.
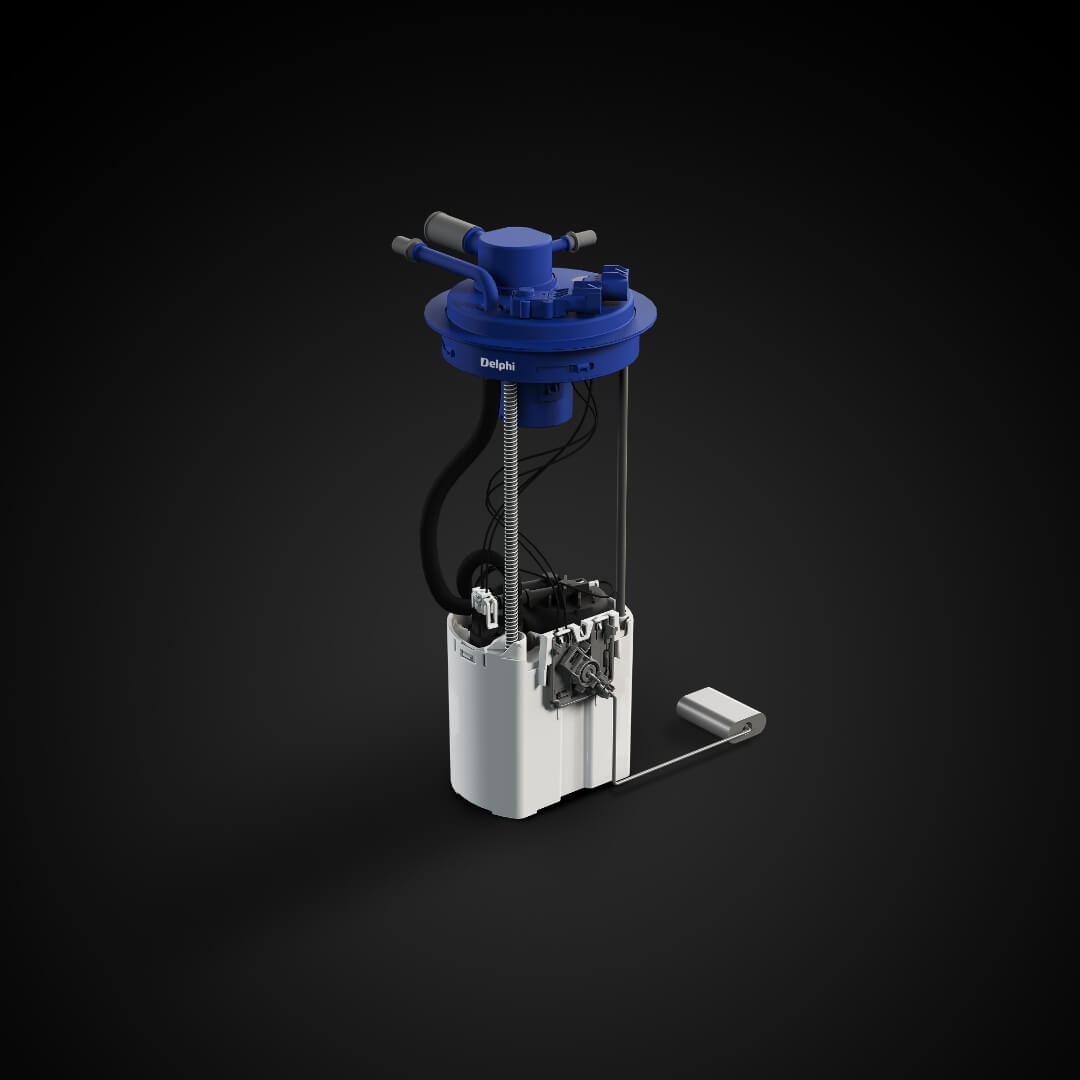
A fuel sending unit is made to last the lifetime of the vehicle, but sometimes, components of the part can fail. The biggest issue with fuel sending unit failures is bad fuel. The use of aggressive fuels, or additives in the tank, can corrode the contacts on the fuel sending unit, causing dead spots or a loss of signal.
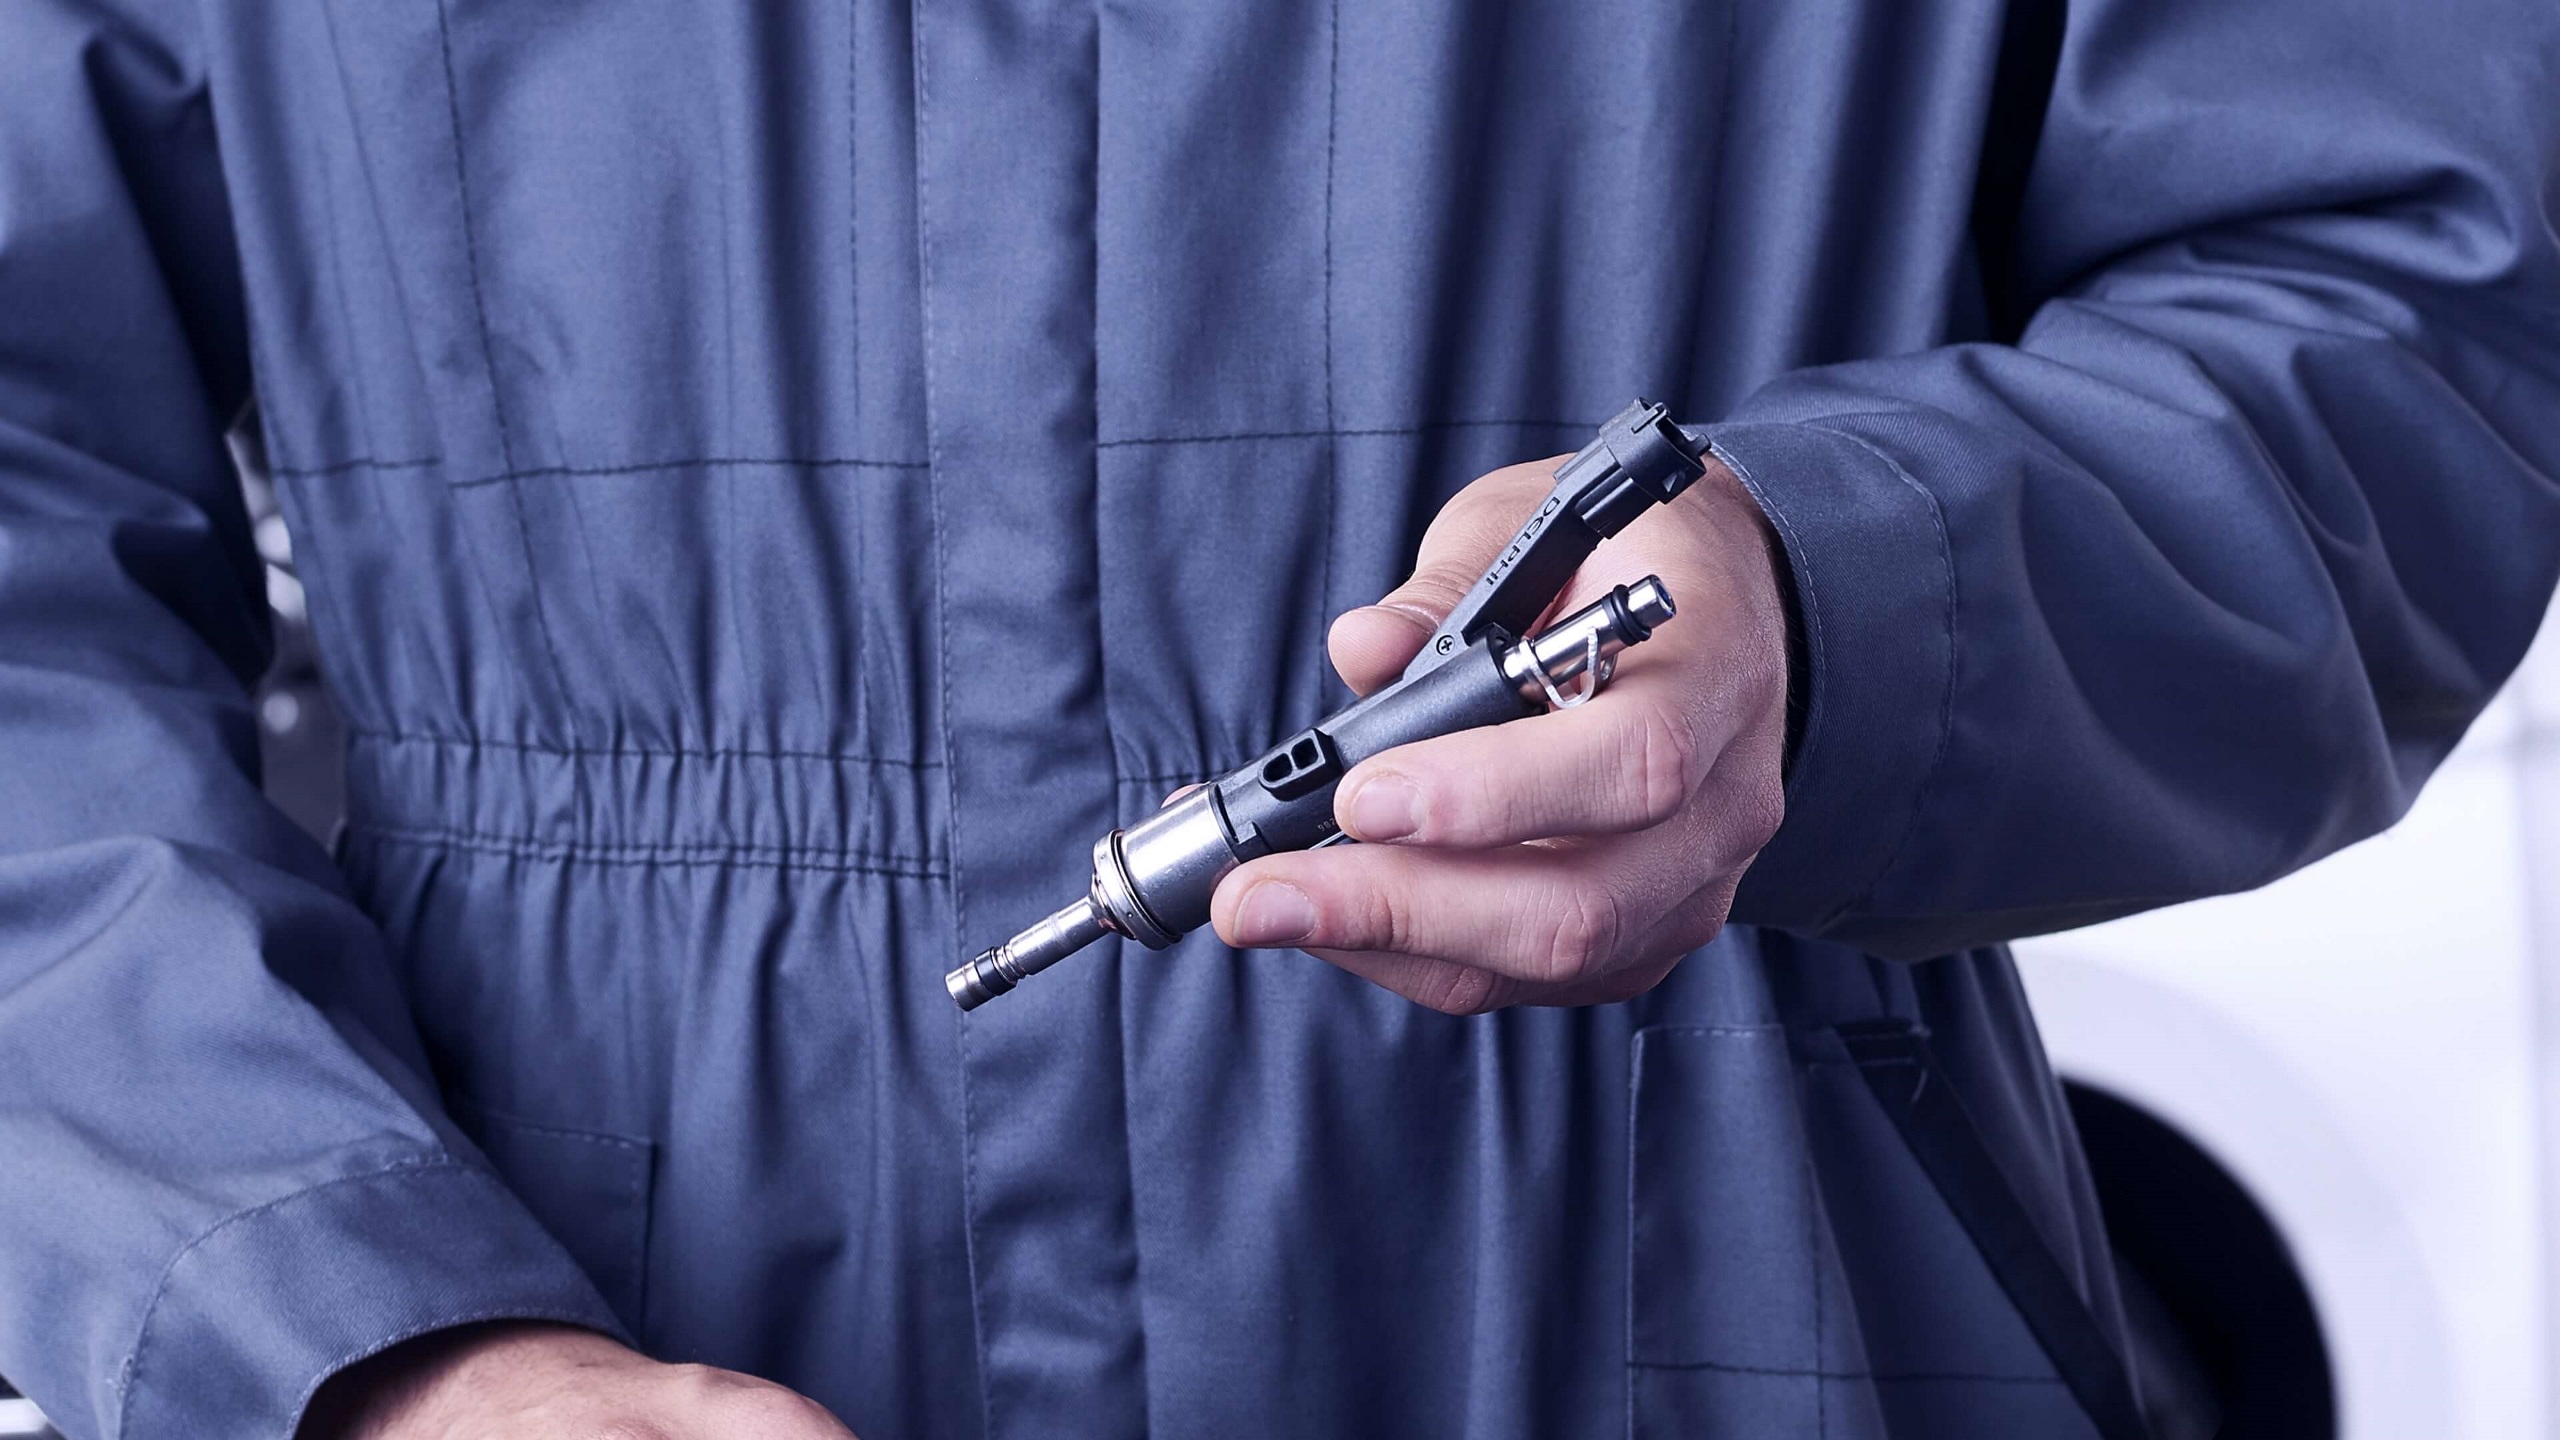
How to replace a fuel sending unit
- Release the fuel tank pressure according to the instructions in the vehicle’s service manual.
- Disconnect the fuel lines and electrical connections from the fuel sending unit.
- Clean the area around the plug and make sure it is free of any contaminants that could fall in the tank.
- Be sure to use a non-ferrous tool or punch to remove the retaining ring (if applicable).
- Pull the old fuel sending unit with the gasket/O-ring out of the tank. Compare the old unit with the replacement unit to make sure it is compatible.
- Fit the new fuel sending unit with the new gasket/O-ring, making sure the gasket is properly aligned between the fuel sending unit and the tank.
- If replacing a fuel pump sending unit, transfer over the fuel line retainers. Install the fuel pump by guiding in the sending unit arm first.
- Reinstall the retaining ring (if applicable). If the fuel sending unit uses screws, be sure to use the included washers to prevent leaks, and tighten in a star pattern.
- Reconnect all electrical connectors and snap fuel lines back in place.
- Check for leaks.
When working with anything fuel related, always make sure to have a fire extinguisher nearby and avoid working near anything that can cause a spark. Safety glasses and gloves are recommended.
See the video below to watch a fuel pump replacement in action.
Whether it be the fuel sending unit or the fuel pump, always make sure to install the part into a clean gas tank. Be sure to check out our Clean the Tank initiative, which can be done in about one hour. This important step protects brand new parts from damage caused by old debris and contaminants that may collect over time inside the gas tank. The original part went into a clean gas tank, so to ensure the same level of performance, the new one should go into a clean gas tank too.
Feel free to check out our Resource Center for more fuel-related tips and other advice for technicians and DIYers.
Related article resources and products


Contact Us
Visit our Contact hub to find a range of enquiry types suited to help you find the exact support you are looking for.