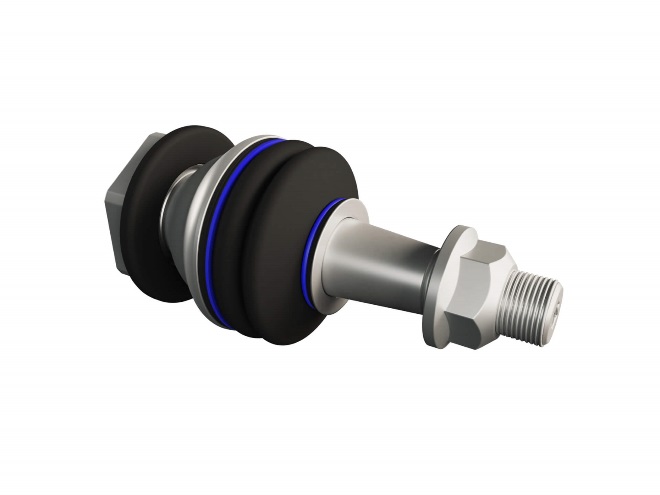
- Product Information
- Product Resources
- Enquire
- Related Products
Why should you trust Delphi for ball joints?
- Manufactured with high-quality forgings for increased strength and smooth operation.
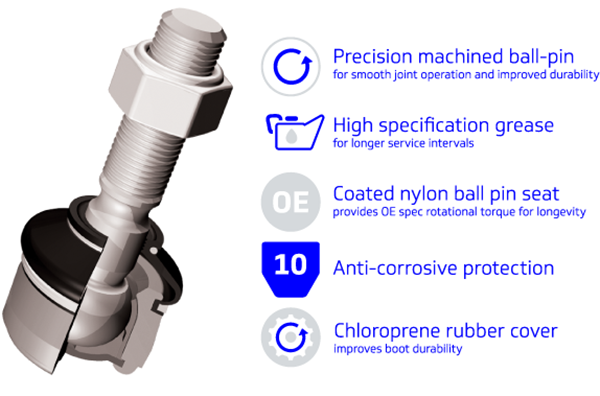
- Chloroprene rubber boot improves durability and prevents premature failure, with cover to protect internal components.
- Machined to micron tolerances to guarantee durability and smooth joint operation.
- Anti-corrosion protection applied to each part.
- Ball-pin 100% crack tested for flaw free material.
- Undergo rigorous performance and resilience tests.
- Superior ball-pin finish and nylon seat coating for smooth movement and long lifetime.
- High specification grease for reduced friction, and smooth operation in all temperatures and conditions.
What does a ball joint do?
Think of the ball joint like a human hip joint. It acts as a pivot between the vehicle’s wheels and suspension, allowing the vehicle to be steered while ensuring a comfortable ride.
Why does a ball joint fail?
The ball joint’s constant motion subjects it to significant stress and wear. If it is worn out or its rubber boot splits or cracks, it needs to be replaced. So, you’ll want to fit a high-quality ball joint that has been designed, engineered and manufactured to the same standards as OE. Make sure to replace the entire ball joint and not just the ball joint boot. A damaged boot can let in contaminants that could corrode and/or impact the smooth feel of the ball joint. It can also lose grease lubricant, which is intended to last the life of the joint, causing significant friction and possible sticking.
Learn more about ball joint failure symptoms.
Precision engineering
Enabling free movement in two planes at the same time, the ball-pin is a critical component. That’s why our ball-pins are manufactured from high-grade steel and machined to micron tolerances. Together with a polyoxymethylene nylon ball-pin seat, they provide optimum durability and smooth joint operation.
Extensive testing
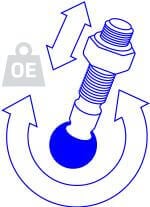
Delphi ball joints undergo rigorous performance tests including angular stress testing, where the ball is rotated through its angular and rotational travel under load, as well as a pull and push out test, to measure the force required for it to break away from the housing. These important safety tests ensure the ball joint can withstand the same forces as the OE part.
Cataphoretic coating
Like many of our steering parts, Delphi ball joints feature an environmentally friendly cataphoretic coating for tougher and longer lasting protection from corrosion caused by salt, dirt and water and other contaminants.

Greater protection
To help prevent damage to the joint’s internal components, all our ball joints come with a special chloroprene rubber cover. The new and improved formula maintains its durability even in extreme temperatures, providing added protection from road dirt or salt and allowing continued free movement of the ball joint for a longer lasting par
Longer service intervals
We provide a range of sealed ball joints, that are lubed for life with a high-specification grease, to minimize maintenance requirements. Alongside our precision ball-pin finish and improved rubber boot design, they offer longer ball joint service intervals and better grease retention.
Click here to view our catalog
The Delphi Difference
-
100 years of OE experience, supplier to the world’s top automakers
-
OE heritage and knowledge built into every aftermarket part
-
Comprehensive portfolio for a wide range of vehicles and model years
-
Streamlined SKUs for easy inventory management
-
Support through tools, tips and training

Related product resources and downloads
Resource Highlights
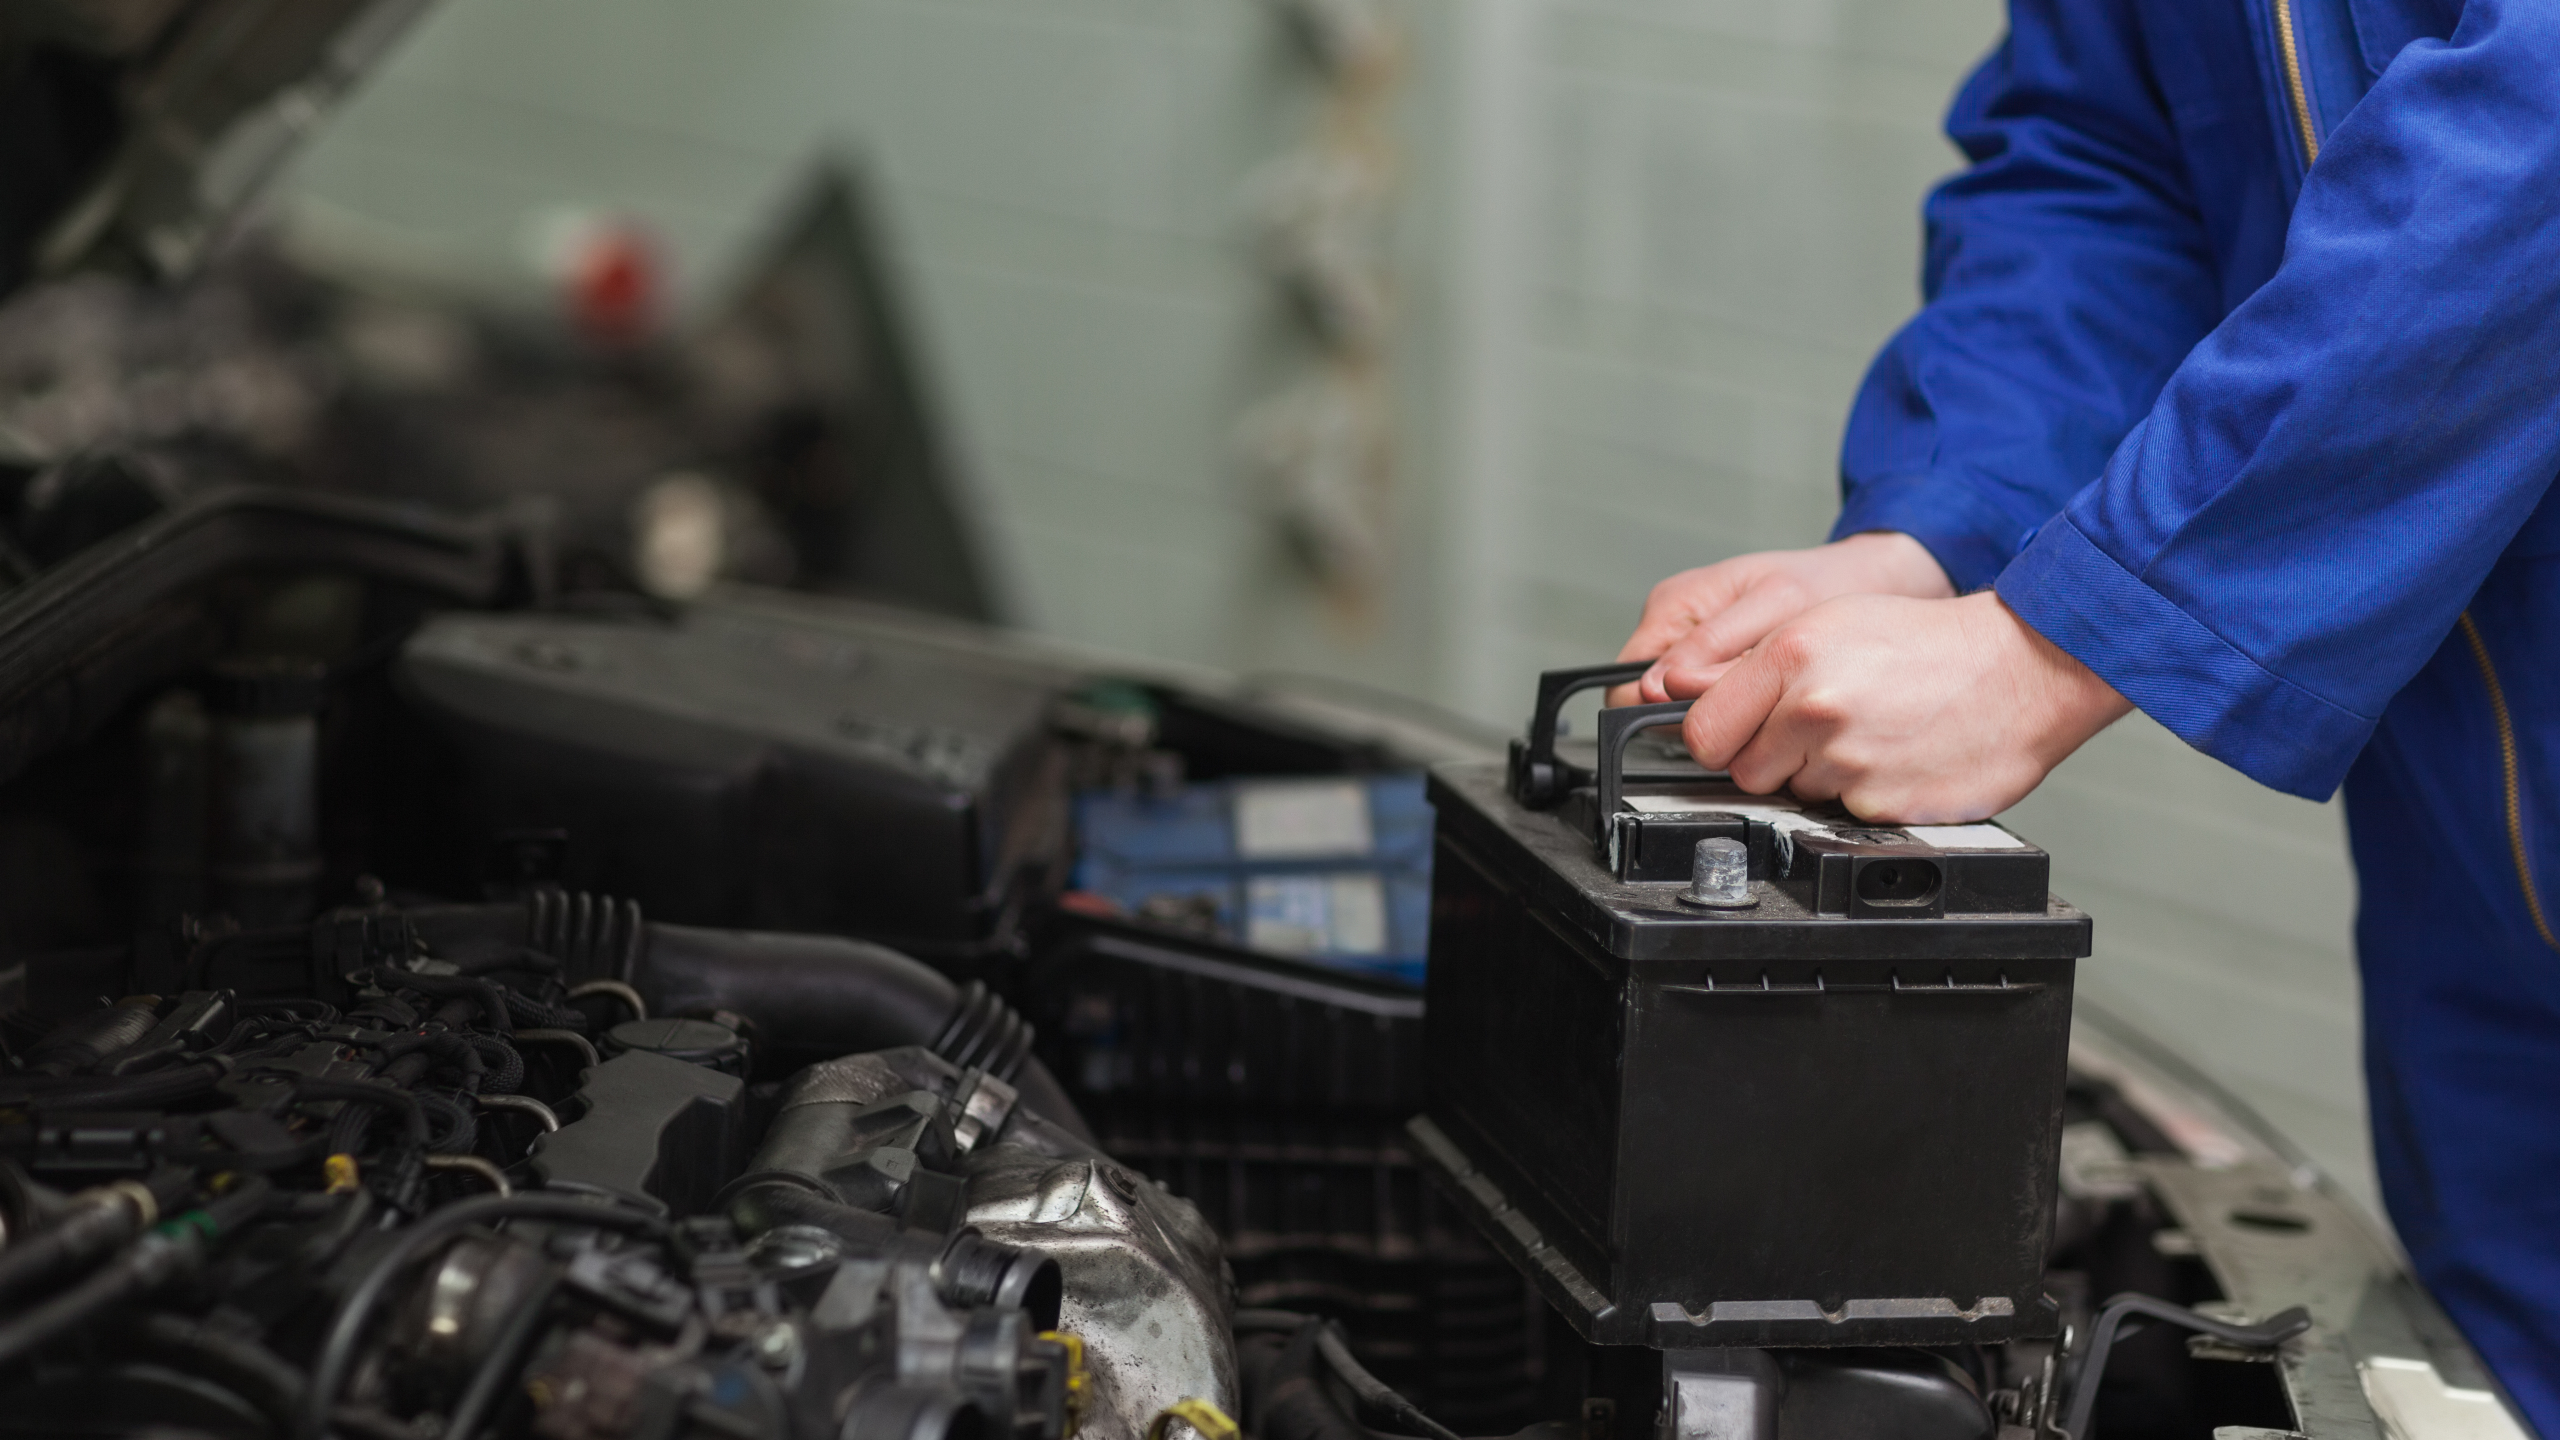
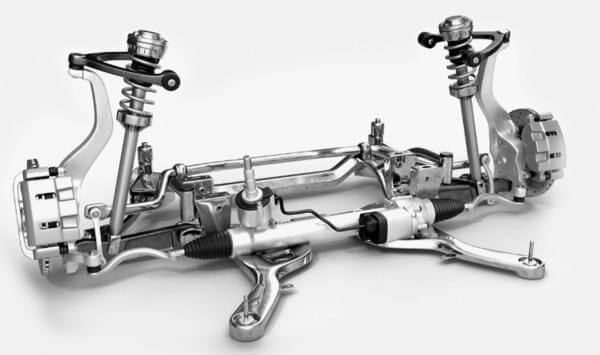
In this article you will find out about everything you need to know regarding the Steering and Suspension replacement.
Here are some suggestions for your steering and suspension replacements -- specifically control arms and ball joints:
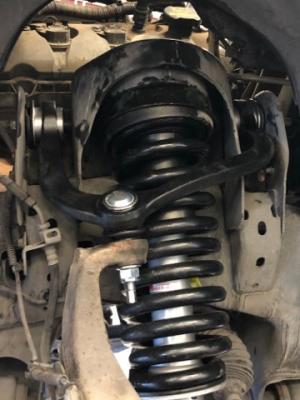
- You will need a ball joint press tool and possibly a ball joint separator tool as well (learn more about how to use those tools here). Some auto parts stores will rent them for free.
- Pneumatic/electric tools will make your job easier but are not necessary.
- Be prepared for the project to take at least three hours depending on your skill level and tools available. A control arm replacement would typically be a medium to high level of difficulty due to the labor intensity and special tools required.
- If you are replacing your control arm or ball joints due to an issue, or if you are doing preventive maintenance on an aging vehicle, consider inspecting and/or replacing the shocks and struts at the same time, as well as the brakes. After all, part of the job may require you removing them, so while you are doing this, it may be a good opportunity to install replacement units if necessary.
Remove, tighten and torque
- Soak the nuts with penetrating spray in advance to make components easier to remove.
- Always use a torque wrench to tighten fasteners to the vehicle manufacturer’s specifications. Reminder: when using air tools there is the potential to damage components.
- Tighten all wheel bolts to the vehicle manufacturer’s torque specifications.
- Torque components in their loaded position, not wheel-free. This will prevent the components being under additional stress when the vehicle is on the ground.
- Never re-use fasteners. Steering and suspension systems use nuts with a self-locking feature to prevent looseness due to vibration. Most nut locking features are designed for single use only.
- If a control arm is fitted with horizontal bushings, tighten the bolts while the vehicle is at its neutral ride height. Tightening with the vehicle in the air can lead to excessive wind-up of the bushings when back on the ground and under compression.
Watch our videos to learn:
After replacement
The vehicle will need an alignment to reset the steering geometry after replacing any steering or suspension component, since the new components will have less play and set the wheels at a slightly different angle.
On a four-wheel drive vehicle:
- Adjust camber on the rear wheels, if possible.
- Adjust toe on the rear wheels.
- Adjust caster and camber on the front wheels, if possible.
- Adjust front toe to match the rear thrust angle
Align the wheels
An alignment shop with proper tools will need to make sure the wheels are properly aligned after you complete any steering & suspension work. Check all three angles -- toe, camber and caster -- to minimize rolling resistance, friction and tyre wear. Adjust as necessary.
Check the toe:
- Why the toe changes: Replacing tie rod ends, tie rods or a steering rack will alter the distance between the steering arms, which impacts the toe.
- After the parts have been installed, measure the vehicle’s toe. Adjust the tie rods to set toe within the vehicle manufacturer's specifications.
Check the camber:
- Why the camber changes: The constant movement of a vehicles’ suspension system can change the geometry of the control arms and struts.
- The camber is not normally adjustable, so if the measurements are noticeably different either side, check the tyres, wheels or suspension for distortion.
- What happens if the camber is not equal on both sides of the vehicle? If the difference is not large, this may mean irregular tyre wear. If the difference is large, the vehicle will pull to the side with the most positive camber.
Check the caster:
- Caster can affect the vehicles’ steering stability, effort and return.
- Generally speaking, caster should be within 0.5 of a degree, side-to-side. Any measurement greater than this can cause a drift to one side and will need to be reset.
- Caster is generally not adjustable on modern cars.
- What happens if caster is not equal on both sides of the vehicle? The vehicle will pull to the side with the least amount of caster (which may mean the most negative caster).
Finally, check all of the mounting nuts and bolts to ensure that they are all correctly tightened.
Alignment for vehicles with ADAS components
Newer vehicles may have Advanced Driver Assist Systems (ADAS) which include safety features such as Adaptive Cruise Control, Lane Keep Assist and Collision avoidance. These enhanced safety systems rely on the vehicle's cameras and radar sensors being accurately aimed and calibrated. When an chassis alignment is performed subsequent to a suspension or steering component replacement, some vehicles’ ADAS components may require one or both of the following service calibrations:
- Static Calibration:Performed in the repair shop using precision aiming / calibration equipment along with a diagnostic scan tool while the vehicle is stationary.
- Dynamic Calibration: Performed during an extended road test using a diagnostic scan tool
On vehicles with ADAS options, a shop must always perform a complete 4-wheel alignment which includes the vehicle’s thrust angle measurement. Failure to follow recommended OEM procedures such as a proper 4-wheel alignment and proper ADAS camera / radar calibration could result in reduced functionality or erratic system performance with these safety enhancing ADAS systems. If an ADAS equipped vehicle is not properly serviced, problems can occur, ranging from the vehicle’s collision avoidance system abruptly applying the vehicle’s brakes for no apparent reason to the collision avoidance system not detecting an impending crash. Consult OEM service information for more details.

Visit our Technician Library for access to Documents and Downloads
Get in touch
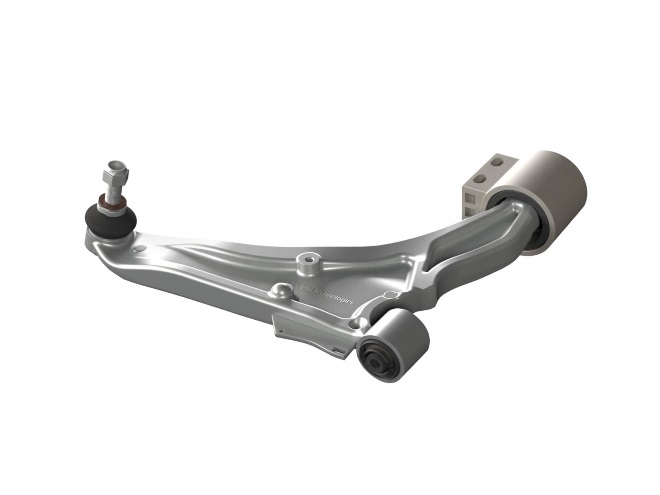
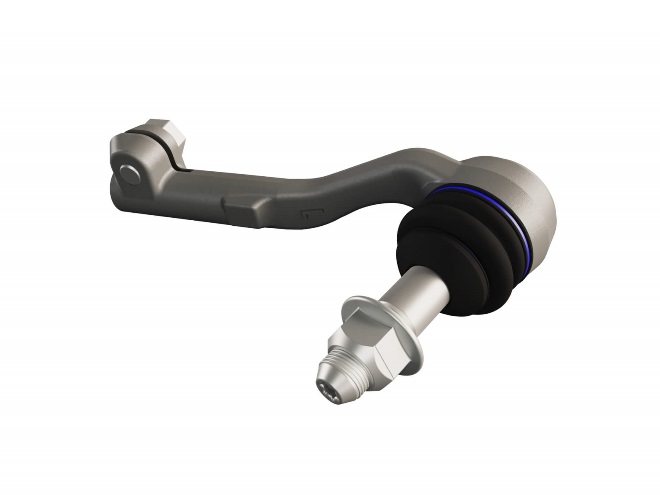

Contact Us
Visit our Contact hub to find a range of enquiry types suited to help you find the exact support you are looking for.