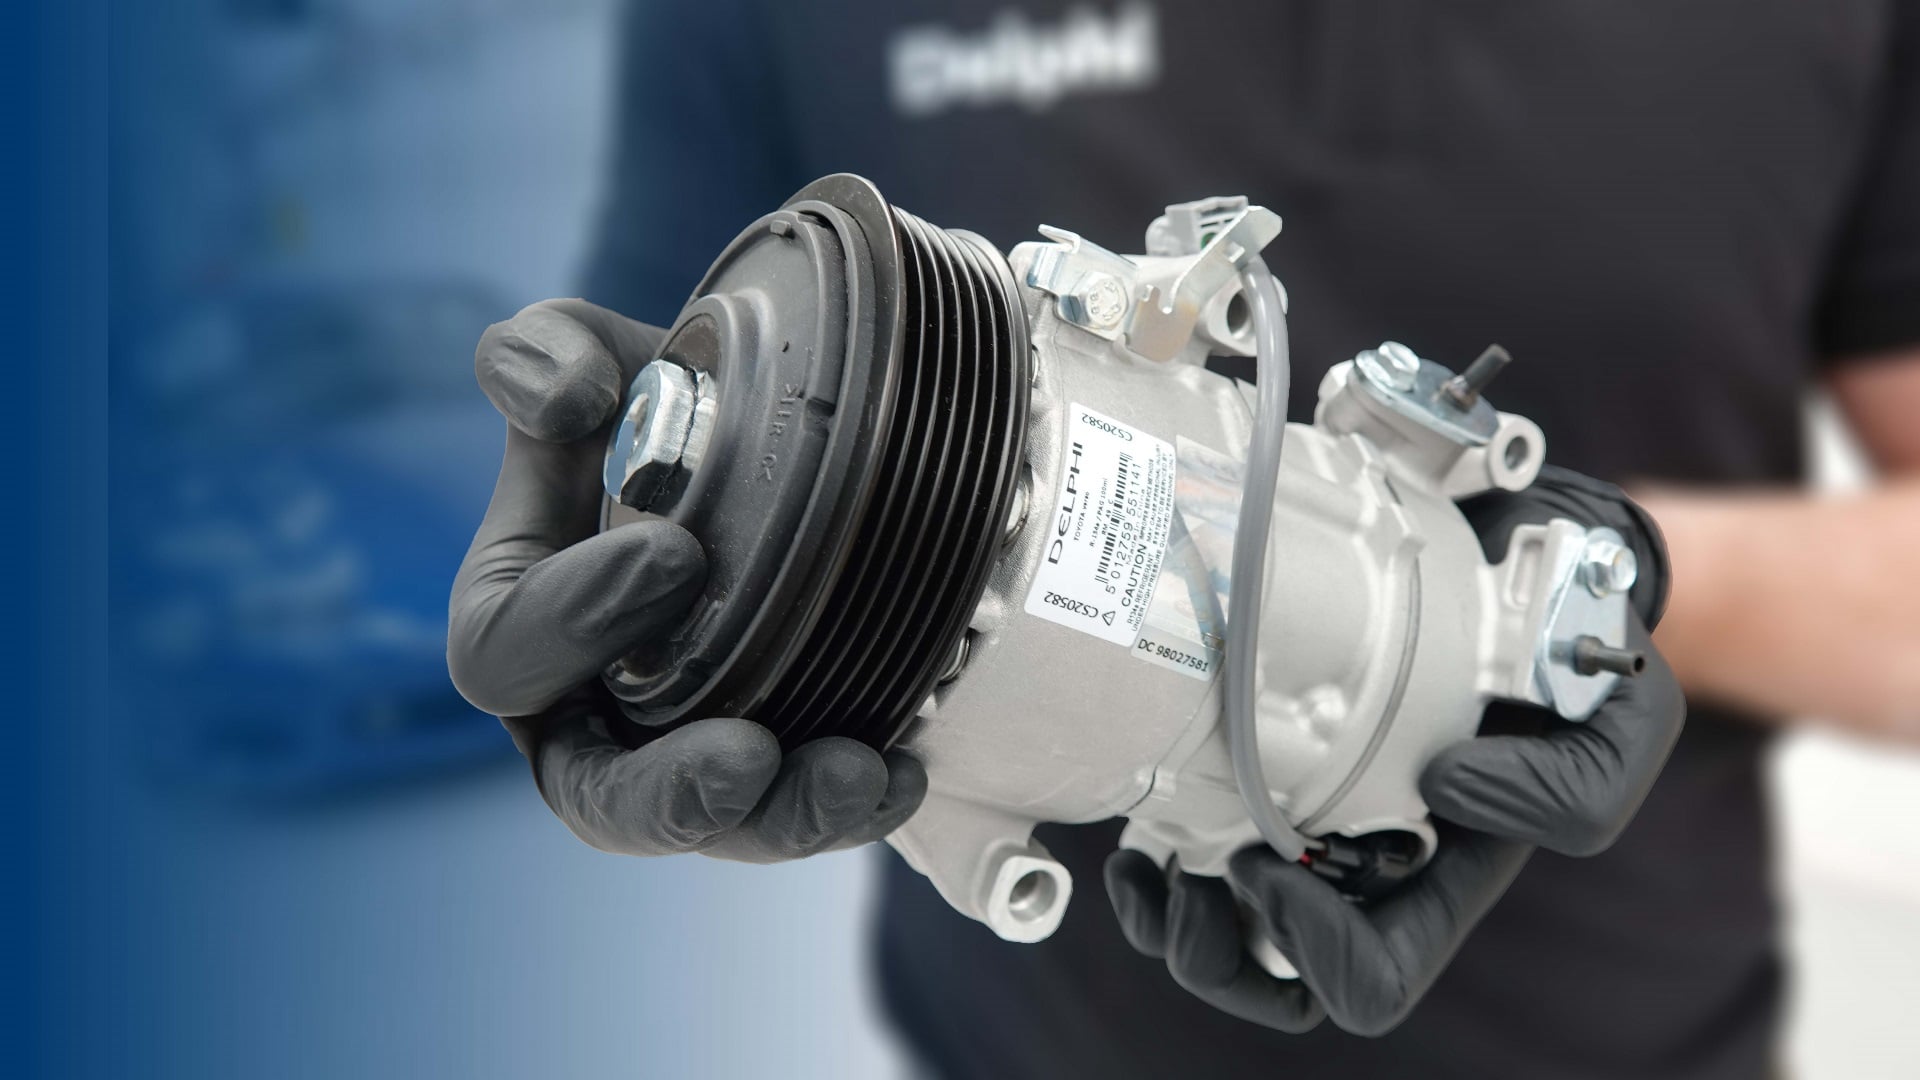
What does a car AC compressor do?
Here’s how a car air conditioning compressor works. The compressor compresses refrigerant gas, increasing its pressure and temperature. The hot, high-pressure gas then moves to the condenser, where it releases heat and turns into a high-pressure liquid.
The liquid refrigerant flows through the expansion valve, where it cools and turns into a low-pressure gas. Once cooled, the cooled refrigerant absorbs heat from the cabin air through the evaporator, cooling the air before it’s blown into the cabin.
Finally, the cycle repeats, delivering continuous cooling when needed.
Symptoms of a failing car air conditioning compressor
These are the signs to look out for that something may be wrong with your compressor:
- Warm or lukewarm air blowing from vents instead of cold
- Unusual air conditioning noises (grinding, squealing, or rattling)
- AC clutch not engaging
- Refrigerant leaks
- AC keeps turning on and off
- Engine overheating due to added strain
- Complete AC system failure
How to check if your AC compressor is faulty
If you detect one or more of these symptoms, it still helps to diagnose the problem more deeply. Work your way through these steps:
Check basic AC operation - Start the vehicle and turn on the AC to maximum cooling. Check the temperature against the manufacturer’s specifications (approximately 20C drop off ambient as a minimum for most).
Inspect the AC compressor clutch – Locate the AC compressor, usually at the front of the engine. With the AC on, check if the compressor clutch is engaging. If the clutch doesn’t engage, or does so but the air isn’t cold, this is a clear sign of a problem. This is a step only for some vehicles that are 10 years old or more.
Check refrigerant pressure - Attach low-pressure and high-pressure gauges to the AC service ports, and compare the readings to recommended levels. If either the low or high pressure readings are significantly off, it’s a sign that there’s something wrong.
Listen for unusual noises - With the AC running, listen for grinding, squealing, or rattling from the compressor.
Look for leaks or contamination - Look around the compressor for oil stains or refrigerant leaks. You can use a UV dye leak detection kit if needed.
Check the electrical connections and fuses - Inspect the AC relay and fuse. Use a multimeter to check voltage at the compressor.
Step up your game with Delphi Diagnostics
How to change a car AC compressor: step-by-step instructions
Here you’ll find a full step-by-step guide to changing a vehicle AC compressor.
Skill level and preparation
Some people ask “can I change an AC compressor myself?” The answer is: replacing a car's AC compressor requires intermediate to advanced mechanical skills, as it involves handling pressurized refrigerant, electrical connections, and proper sealing. The relevant qualification is also needed if the vehicle contains R134a, and the system must be fully recovered before any work is carried out. For these reasons, a qualified technician is best placed to do this.
Tools and parts
This is a basic list of tools and parts you’ll need to change an AC compressor:
- Wrench and socket set – to remove bolts
- AC manifold gauge set – to check system pressure
- Refrigerant recovery machine – to safely get rid of old refrigerant (often required by law)
- Vacuum pump – to remove air and moisture before recharging
- New AC compressor – ensuring it's the correct model for your car
- New refrigerant l – the correct type and amount for your vehicle
- O-rings and seals – to prevent leaks when reinstalling
- Torque wrench – to properly tighten bolts
Troubleshooting an AC compressor
If your installation doesn’t go as planned, here are a few of the common issues you might experience and how to fix them.
New AC compressor doesn’t engage after installation
Check for electrical issues first. Start with the fuse, relay, and wiring to the compressor control. But importantly, check also that the system is properly charged with refrigerant. Many compressors won’t engage if the system is empty or low on pressure due to the low-pressure switch.
Noises coming from the newly installed compressor
Significant noises are most commonly down to two things: a lack of lubrication or incorrect installation. Make sure the compressor was properly pre-filled with oil and that it’s compatible with your system. Loose mounting bolts or a misaligned belt can also cause noise.
Compressor replaced, but AC system still blowing warm air
The most common reason for this is that you’ve missed a refrigerant leak somewhere in the system. Common leak points include the condenser, O-rings and hoses. Also, check that the expansion valve or orifice tube isn’t clogged and that the system was fully vacuumed before charging.
New compressor fail shortly after installation
This often happens because debris has been left in the system from the old compressor. A complete system flush is essential to protect the new compressor – see step 1 above.
Compressor is cycling rapidly after installation
This can be due to incorrect refrigerant charge, faulty pressure switches, or a malfunctioning sensor. First check the charge levels first, then if you still have a problem, scan for fault codes if your vehicle has a modern AC system.
The system isn’t operating to specification after installation
On orifice tube systems, install a new orifice tube. On expansion valve systems, clean the expansion valve inlet screen or replace the expansion valve.
Frequently asked questions (FAQs)
Will replacing the compressor fix all AC issues?
Not necessarily. The compressor is a major component, but the AC system has several parts that can fail or cause poor performance. Even with a new compressor, issues like clogged expansion valves, leaks in the condenser or hoses, electrical faults, or a bad blower motor can keep your AC from working properly.
How often does a car AC compressor need to be replaced?
There’s no standard interval for replacing an AC compressor. It’s a question of how much wear and tear the system accumulates, rather than mileage. But on average, a well-maintained compressor can last 8–10 years or more. Factors like lack of use, moisture in the system, poor maintenance, or running the AC with low refrigerant can reduce its lifespan.
How long does it take to change an AC compressor?
Replacing an AC compressor typically takes a couple of hours, depending on the make, model and engine layout. Some small cars offer easy access, while others may require you to remove other components just to reach the compressor.
Can a car be driven with a faulty AC compressor?
Yes, in most cases the car can still be driven with a faulty AC compressor, as long as the compressor isn’t seized and the belt is still intact. However, air conditioning is now becoming an essential component of electric vehicle operation, and is no longer a convenience feature.
Does anything need to be reset after replacing the AC compressor?
In many vehicles you may need to reset the HVAC control module or clear fault codes. Some vehicles store error codes when the system detects issues like low pressure or system failure, which can prevent the new compressor from engaging even after installation. Some cars also require the climate control system to be re-calibrated after a major AC repair. Always check the vehicle’s manual or use a scan tool to ensure the system resets properly.
Do I need to replace the receiver/drier or accumulator with the compressor?
Yes – we strongly recommend it. These components help filter debris and absorb moisture. Not replacing them can contaminate the new compressor and cause premature failure.
What happens if I put too much oil in the system?
Over-oiling can reduce cooling efficiency and damage the compressor. Symptoms include poor cooling and high head pressures. If you're unsure, refer to the manufacturer’s oil capacity chart, and drain the excess oil if needed.
Is vacuuming the system really important before charging it?
Yes - absolutely. Vacuuming removes moisture that can freeze and block the system or cause corrosion. Skipping this step can significantly reduce the performance and lifespan of the vehicle’s AC system.
Can I reuse the old refrigerant when installing a new compressor?
Not directly as refrigerant may be contaminated with debris or moisture. Always recover, recycle, and recharge the system with refrigerant to ensure the best performance and protect the new components.
Why do I need to flush the system before installing the new compressor?
Flushing is crucial to remove old oil, contaminants, and debris. If not done, these can quickly damage the new compressor. Use an approved AC flush solvent and clean the lines thoroughly before reassembly.
Become an expert in air conditioning systems with Delphi Academy