Resource Highlights
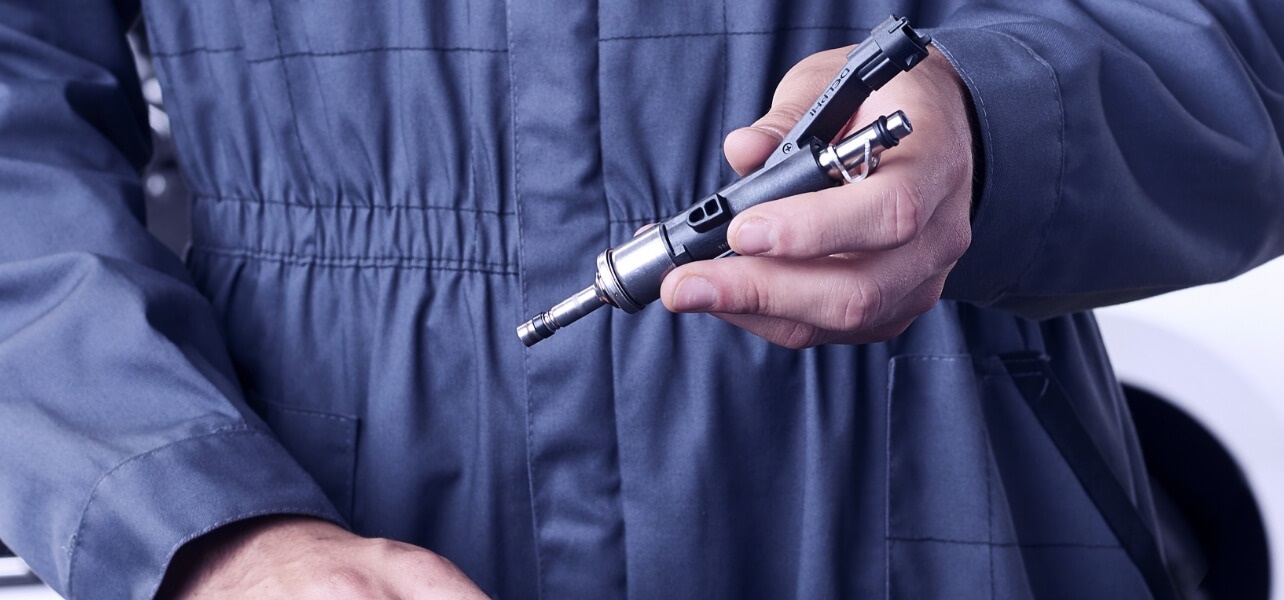
The crankshaft sensor explained
Normally found on the side of the block facing the flywheel, or in the timing cover, the crankshaft sensor is an important part of a vehicle’s engine. It measures the position of the crankshaft and pistons as the vehicle starts up. The information it sends to the ECU determines the most efficient way to activate the fuel injectors and get the engine going properly. Without this information, drivers should expect difficulty in even starting the engine.
How to tell if a crankshaft sensor needs replacing
A vehicle in need of a replacement crankshaft sensor may have trouble starting at all. Abnormal fuel consumption and the check engine light are two other signs to look out for. Test the component and see if a change needs to be made.
How to replace a crankshaft sensor
If tests show that a replacement part will be required, it’s time to change the crankshaft sensor. Let’s take a look at the steps needed to complete the replacement.
The tools you'll need
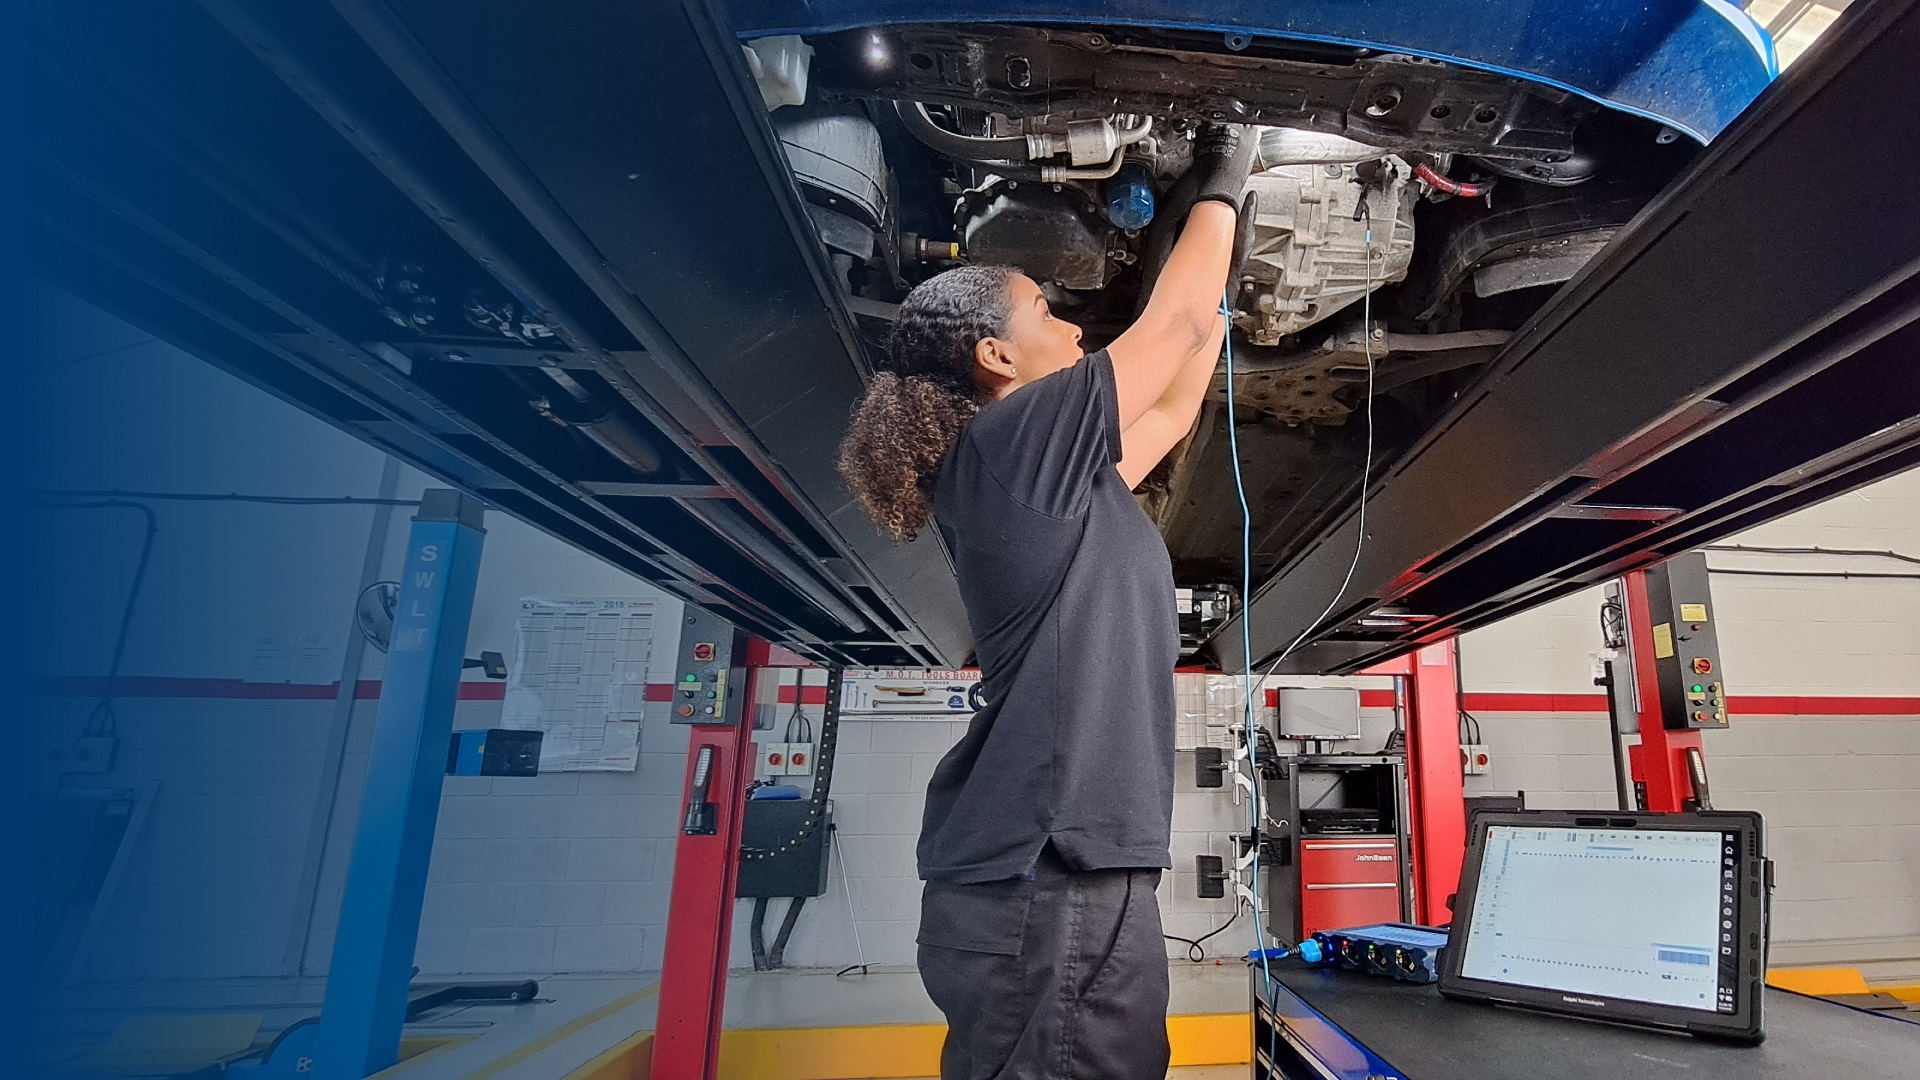
Depending on the vehicle you’re working on, you will need the appropriate tools to detach and reattach the bolts holding in the sensor. You may also prefer to work with a vehicle lift, depending on the location of the crankshaft sensor – it may be underneath the engine on some vehicles.
1. Get the vehicle prepared
If you’re using a ramp, lift the vehicle up correctly using the manufacturer’s recommended lifting points, so you can access the crankshaft sensor.
2. Unplug the electrical connection
Find the crankshaft sensor’s electric connection and disconnect from the engine wiring harness. It’s always worth checking the electrical plug for signs of corrosion or water ingress.
3. Remove the crankshaft sensor
Remove the retaining bolt – it might be easier to use your hands once you’ve loosened it off enough. On some vehicles you may need to remove some components to get better access. Then take off the sensor.
4. Insert the new crankshaft sensor
Turn the replacement crankshaft sensor into place, and reattach the retaining bolt, being careful to tighten to the recommended torque from the manufacturer guide.
5. Reconnect the electrics
Plug in the electrical connector to restore the signal from the crankshaft sensor to the ECU.
6. Lower the car from the lift
Lower the car back onto the ground of the workshop.
7. Run diagnostics and clear codes
If the engine light is still on, use a scanning tool to perform an OBD check. Clear any codes relevant to the sensor. Check if the new part requires calibration – the diagnostic tool should tell you.
How hard is it to replace a crankshaft sensor?
Replacing a crankshaft sensor is a job for a trained technician. As with most car maintenance jobs, there are several variables factoring into the difficulty. These are down to things like the placement of the sensor, and how much space around it you’ve got to work with.
Choose from a wide range of vehicle replacement parts provided by the experts at Delphi.
How long does it take to replace a crankshaft sensor?
There’s no hard and fast figure we can use to estimate the time it takes to replace a crankshaft sensor. Although a relatively straightforward procedure, various factors including the placement of the sensor will affect the time taken.
What to do after replacing a crankshaft sensor
Once you’ve replaced a crankshaft sensor, the engine light should turn off once you’ve used your diagnostic tool to reset codes and recalibrate the new part (if needed). A new sensor in place should mean no further problems being caused by a bad crankshaft sensor, so monitor the vehicle performance carefully to ensure it is no longer an issue.
Are you looking for replacement crankshaft sensors?
If you’re working with a vehicle and happen to diagnose a bad crankshaft sensor, you’ll need to pick up a replacement part and ensure the procedure is carried out carefully so as not to damage other engine components. Make sure you’re using the best quality OE parts – Delphi stocks the parts you need to get the job done right.
Delphi Academy runs an Electronics online training course which teaches all you need to know about crankshaft sensors. Sign up for a tune-up on your vehicle expertise today.
SIGN UP TO FIND MORE
Fill up your details to hear more from our experts and get the latest updates from Delphi.

Diagnostics
Discover our extensive range of OE-level diagnostic and test equipment for quicker, more accurate servicing and repairs.

Training
Choose from our expert-led, accredited training courses to enhance your skills and prepare you for the vehicles of tomorrow.
Find out where to buy Delphi parts