- Product Information
- Product Resources
- Enquire
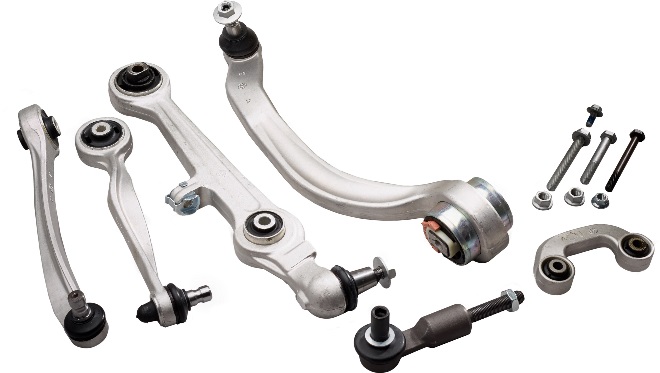
- Related Products
- Manufactured to OE standards for control, comfort and durability
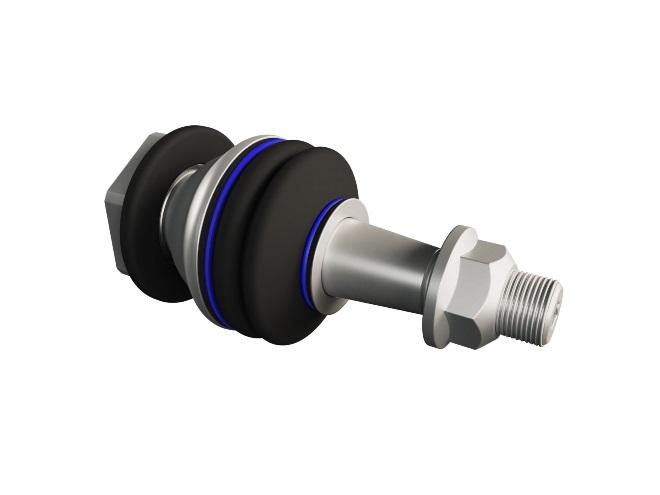
- Ball-pin 100% crack tested for flaw free material
- Undergo rigorous performance and resilience tests
- Chloroprene rubber cover protects internal components
- Superior ball-pin finish and nylon seat coating for smooth movement and long lifetime
- High specification grease for reduced friction, and smooth operation in all temperatures and conditions
- Cataphoretic coating where required provides longer lasting corrosion protection
- Access to technical hotline and support
- Three-year/36,000-mile warranty on all steering parts – available in UK only
Precision engineering
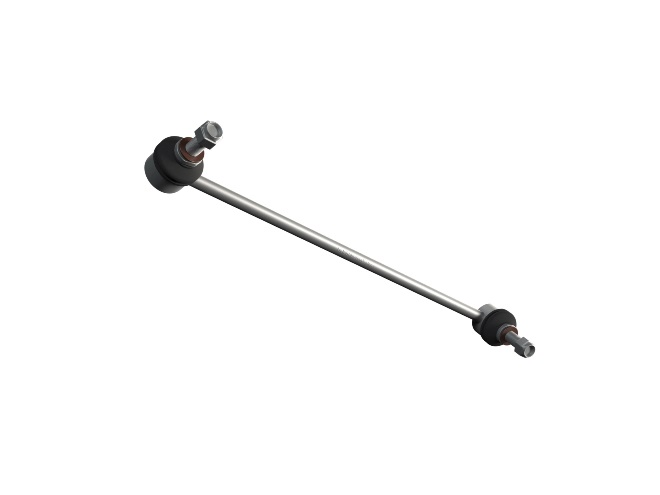
Enabling free movement in two planes at the same time, the ball-pin is a critical component. That’s why our ball-pins are manufactured from high-grade steel and machined to micron tolerances. Together with a polyoxymethylene nylon ball-pin seat, they provide optimum durability and smooth joint operation.

Extensive testing
Delphi ball joints undergo rigorous performance tests including angular stress testing, where the ball is rotated through its angular and rotational travel under load, as well as a pull and push out test, to measure the force required for it to break away from the housing. These important safety tests ensure the ball joint can withstand the same forces as the OE part.
Longer service intervals
We provide a range of sealed ball joints, that are lubed for life with a high-specification grease, to minimise maintenance requirements. Alongside our precision ball-pin finish and improved rubber boot design, they offer longer ball joint service intervals and better grease retention.
Greater protection
To help prevent damage to the joint’s internal components, all our ball joints come with a special chloroprene rubber cover. The new and improved formula maintains its durability even in extreme temperatures, providing added protection from road dirt or salt and allowing continued free movement of the ball joint for a longer lasting part.
.jpg?sfvrsn=d5e08686_1 "BALL-JOINT_TEST_LINE_RGB_300.png (1)")
Three-year warranty – available in UK
As a guarantee of our OE-quality standards, we offer a three-year or 36,000-mile warranty on all our ball joints. So, you can fit Delphi steering parts with complete confidence.

Cataphoretic coating
Like many of our steering parts, Delphi ball joints feature an environmentally friendly cataphoretic coating for tougher and longer lasting protection from corrosion caused by salt, dirt and water and other contaminants.
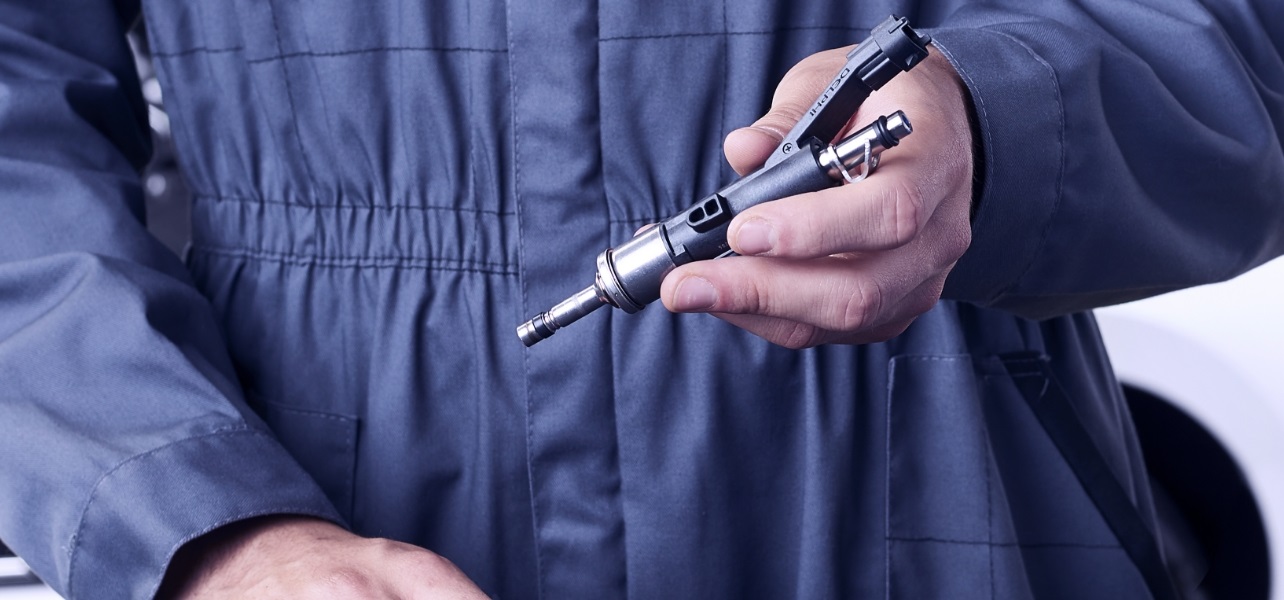
Tech Tip
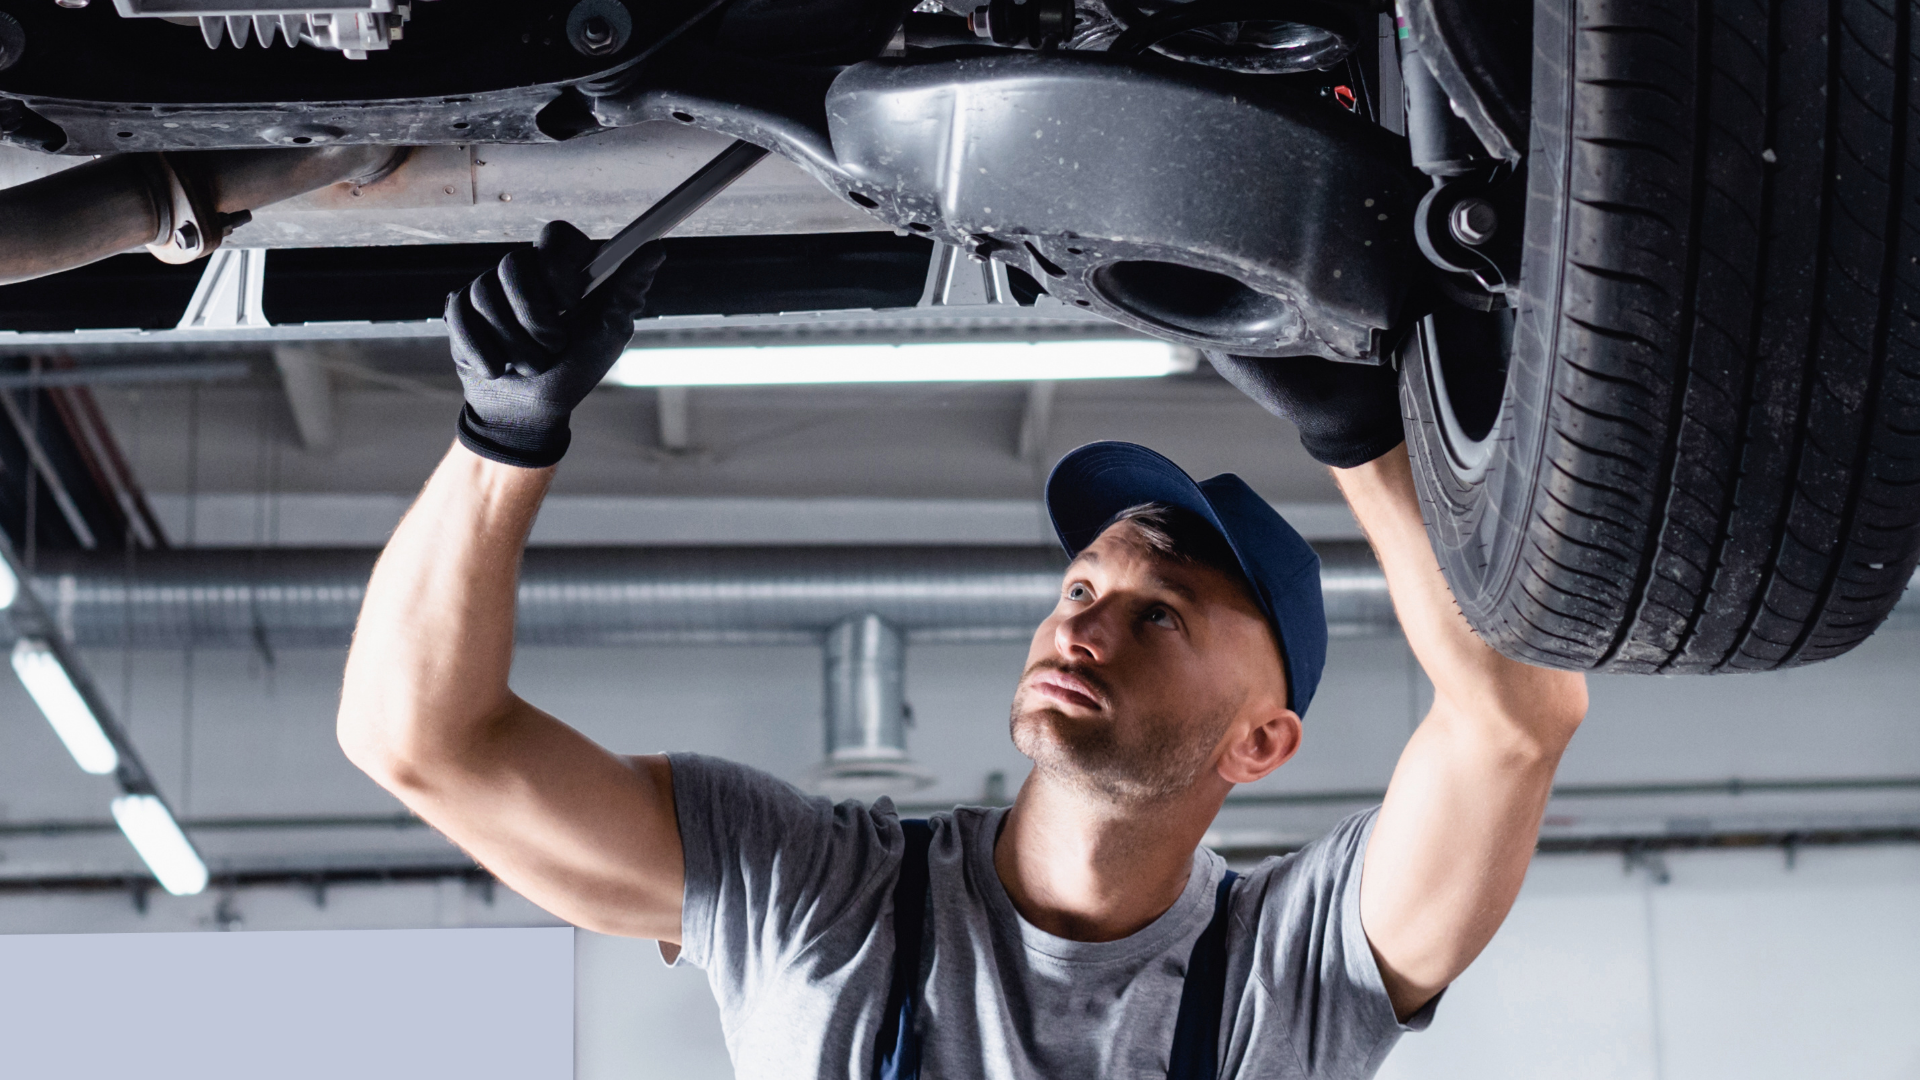
Delphi is advising technicians to help ensure a quality steering and suspension repair by replacing the entire ball joint component where the rubber boot is split, cracked, damaged or missing. In these instances, there is a high probability that damage to the ball joint may have occurred, indicating the joint is likely to fail even after the boot cover has been replaced. Replacing the entire ball joint component can help avoid potential premature failure, which can be safety-critical and costly.
.jpg?sfvrsn=43ce0fa5_0 "10-year_corrosion_rgb_200_.png (1)")
The Delphi Difference
-
100 years of OE experience, supplier to the world’s top automakers
-
OE heritage and knowledge built into every aftermarket part
-
Comprehensive portfolio for a wide range of vehicles and model years
-
Streamlined SKUs for easy inventory management
-
Support through tools, tips and training

Related product resources and downloads
Resource Highlights
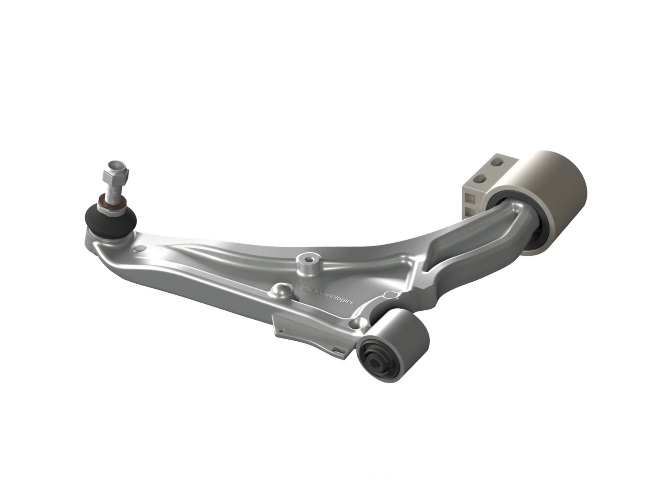
In what order do I remove the fixings on the wishbone?
Start with the ball joint. Once you’ve removed the nuts here, don’t pull the wishbone arm down as you could damage the screw threads. Instead, remove the rear bolts first to give you some movement. After you’ve done this, remove the pivot bolt – don’t worry, the wishbone won’t fall all off as it is pinched in place by the rubber fitting. You’re now ready to lever behind the pivot bush and remove the wishbone.
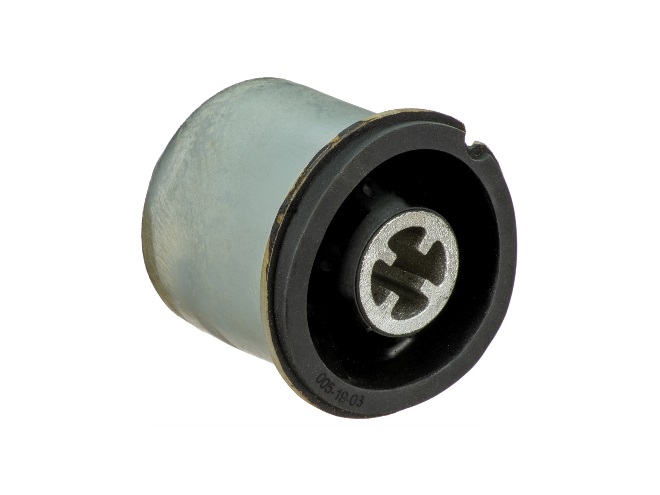
When visually checking the replacement part, what do I need to look out for?
First, that their dimensions match. To do this, lay the new part onto the old one to inspect them. Also, compare the compliance bushes on the end of each to make sure that the angles are the same and that they have matching orientation.
Do I need to use a particular hammer when fitting the new wishbone?
We recommend using a soft hammer to get the wishbone in place so that no damage occurs.
How do I align the wishbone so the centre bolt fits?
To get the centre bolt aligned, you might need to manually move the hub so that it is perfectly central.
Does it matter how I replace all the bolts?
Start by fitting all the bolts gently from front to back. You might need to manually manipulate the fitting to get them in at the back. Once they are all in place, tighten them all evenly, apart from the pivot bolt which is left untightened until the vehicle is grounded. Only when the wheel is on the ground can you tighten the lower pivot bolt.
Why can I only torque up the pivot bolt when the vehicle is back on the ground?
The reason for this is that if you tighten the pivot bolt when the vehicles is jacked up, it can make a big difference to the lifespan of the bush.

Visit our Technician Library for access to Documents and Downloads
Get in touch
Find out where to buy Delphi parts