- Product Information
- Product Resources
- Enquire
- Related Products
Raising the bar with OE technology
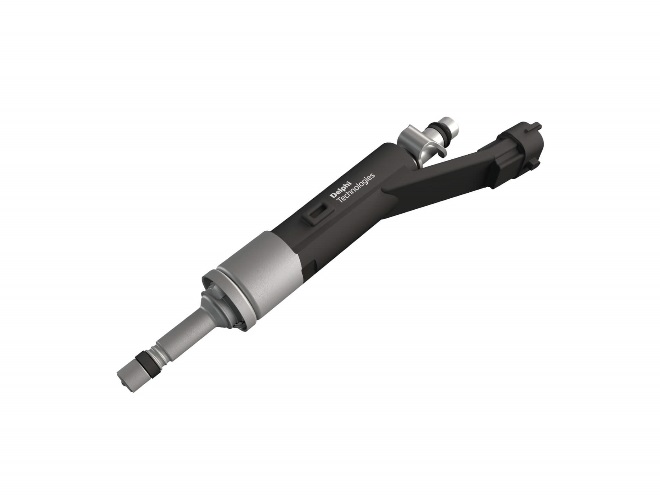
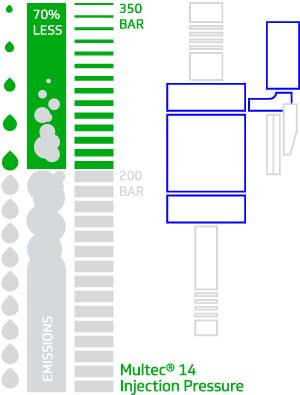
Our industry-first Multec® 14 (M14) 350-bar pressure injection system raises the bar, taking injection pressure from 200 to 350 bar. By injecting smaller droplets into the combustion chamber faster, the latest generation system delivers fewer hydrocarbons and particulate emissions – up to 70 percent - and increased fuel savings. And if that’s not enough, we’re already working on a 500 bar solution.
OE expertise in the aftermarket
We bring our OE expertise to the aftermarket too. Our GDi service programme features our award winning Multec® GDi multi-hole fuel injectors for optimised fuel delivery and combustion, low noise GDi high pressure fuel pumps and service kits, giving you access to OE parts for a high-quality, competitive service. Understand more about the common service issues with GDi.
More than parts
We also offer a comprehensive electronic and hydraulic diagnostic solution including our proven on-board DS diagnostic tool, a high-pressure diagnostic kit, HD3000, allowing technicians to safely set and electronically control any pressure test point up to 3000 bar and a wide-ranging low-pressure tester, LP35.
Training from the OE experts
Want to learn more about GDi servicing? Our range of one day specialist training courses combines theory with practical, on-vehicle exercises and cover key topics such as component operation, common systems and faults, using high pressure gasoline and more. Giving you the skills and know-how to service the latest GDi equipped vehicles.
The Delphi Difference
-
100 years of OE experience, supplier to the world’s top automakers
-
OE heritage and knowledge built into every aftermarket part
-
Comprehensive portfolio for a wide range of vehicles and model years
-
Streamlined SKUs for easy inventory management
-
Support through tools, tips and training

Related product resources and downloads
Resource Highlights
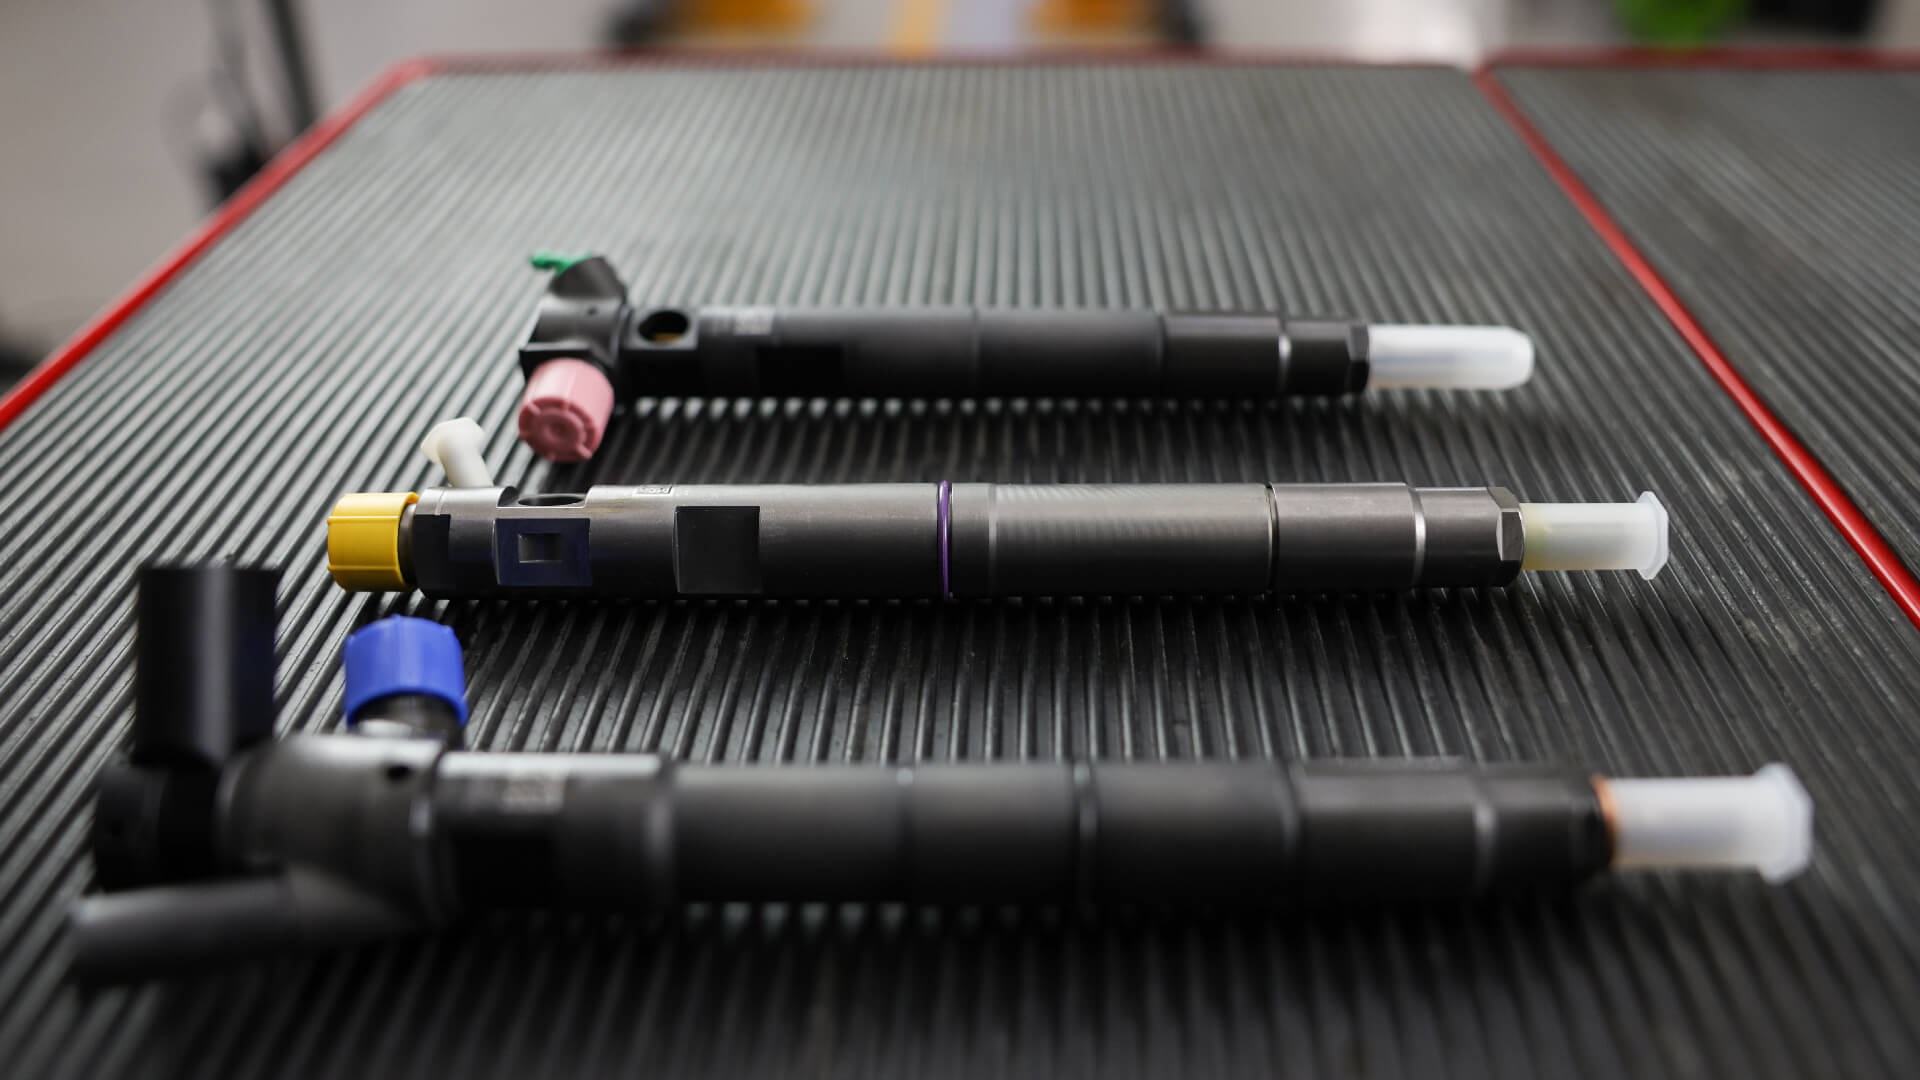
Common rail injection is a fuel delivery system that is used across nearly all modern diesel engines. The injectors spray the exact amount of fuel needed at exactly the right time. They’re an essential component, so when being installed, it needs to be done correctly. This guide will show you how.
Understanding common rail injectors
The injectors themselves are a high performance, high precision piece of kit working at very exact parameters. When being fitted or replaced, it’s very important that they’re programmed to work with the vehicle they’re being installed into, otherwise the whole system will not perform as intended.
What is a common rail injector and how does it work
After fuel is pressurised in the fuel pump, it’s stored in the common rail system which acts as a reservoir feeding each of the injectors. These then spray the fuel into the combustion chambers with incredible accuracy, spraying at around 30,000 psi through clearances as small as 1 micron.
Tools and equipment you’ll need
As well as the replacement injectors, you’ll need a selection of tools:
- Ratchet and socket set
- Screwdrivers
- Pliers
However, if the injector is seized, you may need more equipment – even hydraulic pullers in certain cases.
Step-by-step guide to replacing a common rail injector
We’ll give you a detailed breakdown of the process in the following steps, but if you’d like a visual demonstration, you can easily follow along with our Masters of Motion video how-to guide. Watch it now, here.
Step 1: Remove the old injector
Take off the engine cover to reveal the common rail system. Take out the injector pipe, making sure any exposed parts are capped to prevent contamination. Next, remove the back leakage pipe, followed by the electrical connection. Once that’s done, unfasten the clamp holding injector, then remove it from the seat. Throughout the process, remove and replace any sealing washers as required.
Step 2: Install the new injector
Before fitting, make sure the injector has the correct part number and make a note of the correction code.
Remove the protective cap from the nozzle and then slide the injector into place carefully. Now, you can refasten the clamp. Then it’s time to refit the rest: the electrical connector and back leakage pipe. Once that’s done, you lastly have to re-fit the high-pressure fuel pipe. Ideally, use a new pipe to avoid swarf.
Step 3: Program the injector
This is a very important step, as the replacement is not complete until the common rail injector has been programmed to work with the vehicle. Connect your diagnostics unit to the vehicle, and navigate to injector programming. Choose the cylinder injector that’s been replaced, then input the new injector code into the system.
Step 4: Final checks
The process is now complete. The last thing to do is test whether the replacement was successful and the vehicle is running as it should. Start the engine, check for error codes with the diagnostic tool and ensure it drives smoothly.
FAQs
Are common rail injectors all the same?
Even if they’re the same type and make, every common rail injector should be considered one of a kind. They’re extremely precise instruments, so the tiniest variations will affect their performance.
Why do I need to code an injector into the vehicle’s engine management system?
Each common rail injector is unique with individual manufacturing variations. Programming an injector into the vehicle’s ECU effectively tells the vehicle what these variations are so it can adjust for any differences. This is why coding injectors into the vehicle after fitting them is an essential step in the process.
What are the codes found on common rail injectors?
These are codes that relate to the individual characteristics of each injector.
What are the codes called?
The codes have many names: Trim code, Compensation code, C2I, IMA, IQA and C3I.

Visit our Technician Library for access to Documents and Downloads
Get in touch
Find out where to buy Delphi parts